Harvesting microgreens at just the right time maximizes their flavor and nutritional punch.
It isn’t just about snipping some leaves but more of an art that ensures every little leafy shoot gives you its best. And once you’ve got those tender greens in hand, keeping them fresh is key.
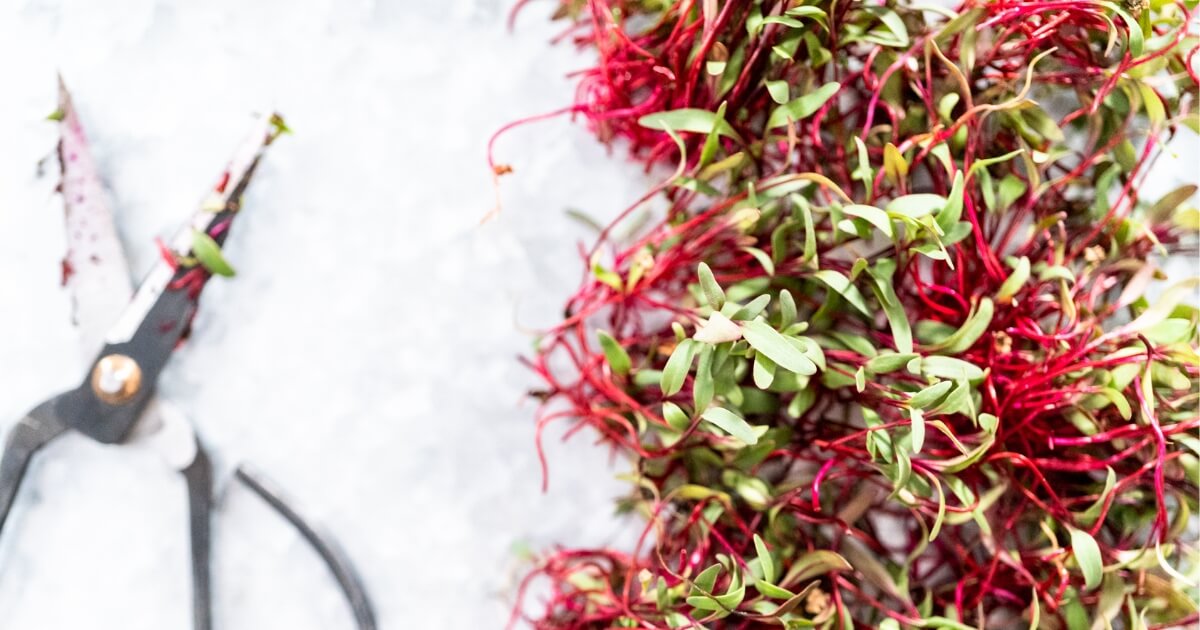
You’ve been nurturing those tiny but mighty microgreens in your home garden. You know the excitement of seeing them sprout and grow, and now I’ll show you the next step. Harvest time!
Recognizing Harvest Time
Timing is everything for harvesting your microgreens. You want to catch them at their peak when they’re young, tender, and packed with flavor.
When Should You Harvest Microgreens?
The best time to harvest microgreens is when they’ve sprouted their true leaves, typically 7 to 14 days after planting, and early morning is ideal as the plants are most hydrated. Look for the signs of maturity, like height, color, and leaf development, to ensure peak flavor and nutrition.
Let’s talk more about that optimal growth stage and the signs of maturity you should be looking for.
Optimal Growth Stage
Microgreens are typically ready for harvest when they’ve sprouted their first set of true leaves. These are the ones that come after the initial seed leaves or cotyledons.
In most cases, this happens about seven to fourteen days after planting, depending on the variety. The true leaves are a telltale sign that your microgreens have hit their stride in growth and are ready for harvest.
Signs of Maturity
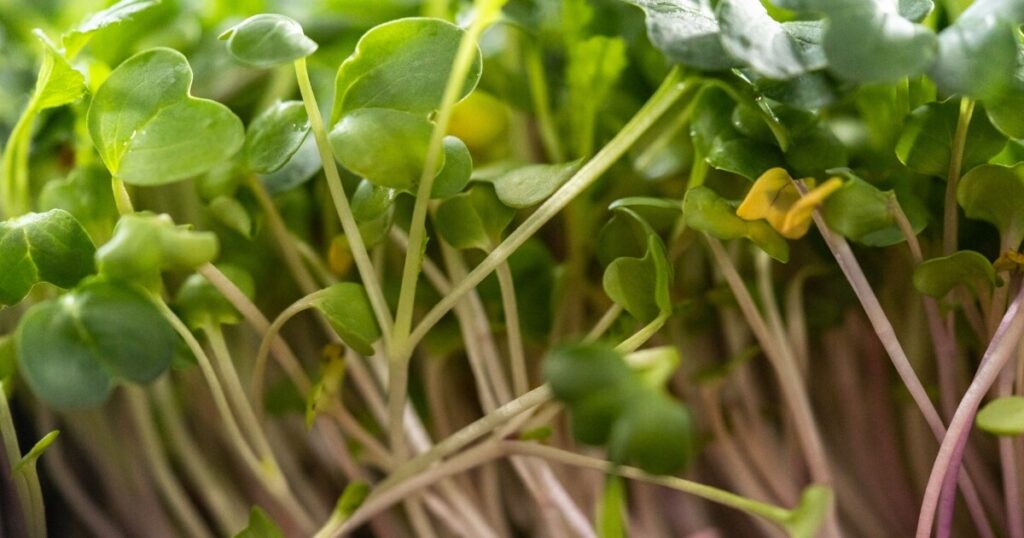
You’ll notice a few visual and tactile cues when your microgreens are shouting, “Pick me!” Here’s what to keep an eye out for:
- Height: Look for microgreens standing tall at about 1-3 inches high.
- Color: Vibrant greens or other hues specific to the plant variety indicate they’re not just alive but thriving.
- Leaf Development: Those true leaves should be fully developed and open, not curled or still partially folded.
- Firmness: Give them a gentle poke; mature microgreens will feel sturdy rather than limp.
Essential Tools For Harvesting
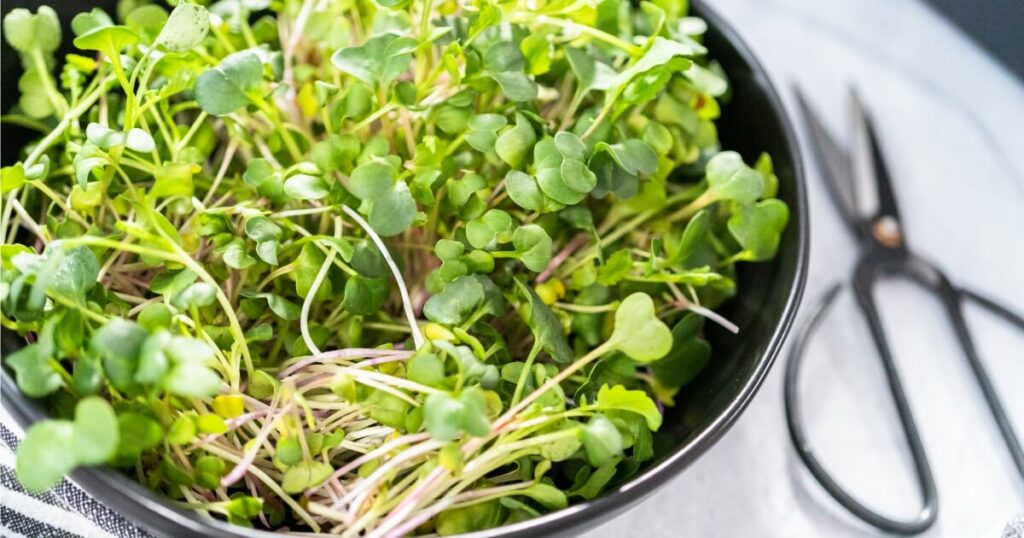
You’ll need a comfortable pair of sharp scissors or a knife as your go-to equipment here.
Sharpness is important because dull blades can crush or bruise the stems, which could lead to quicker spoilage. And precision for clean and accurate cuts without damaging the roots or remaining plant base.
Here are the options I recommend:
- Sharp Scissors: Ideal for snipping microgreens close to the soil line. They allow for a precise cut and can be easily maneuvered between rows.
- Ceramic Knife: A non-reactive blade that won’t oxidize your greens, keeping them fresher longer after cutting.
Now, let’s talk about cleanliness because nobody wants their fresh greens with a side of germs.
Before you get started, make sure your tools are spotless. Wash them with warm, soapy water, give them a good rinse, and use an alcohol wipe for quick disinfection.
After cleaning, dry your tools thoroughly to prevent rusting (especially if they’re not stainless steel). A well-maintained tool makes for a happy harvest.
This isn’t just about keeping things tidy. It’s about protecting your plants from diseases that could spread from dirty equipment.
Harvesting Your Microgreens
Step-by-Step Guide
Harvesting microgreens is straightforward, but following these steps will guide you to do it just right:
- Timing: Choose the right time of day for harvesting. Early morning is best when the plants are most turgid (full of fluid and crisp).
- Watering: If possible, water your microgreens a few hours before harvesting to ensure they’re hydrated and plump.
- Sanitization: Clean your hands and sterilize your scissors or knife to prevent contamination.
- Cutting: Gently hold a small clump of microgreens and cut them just above the soil line using your sharp tool of choice.
- Handling: Place the harvested microgreens gently into a clean container or tray. Avoid squeezing or packing them tightly to prevent bruising.
- Cleaning: Give your freshly harvested greens a gentle rinse under cold water to remove any soil particles.
- Drying: Lay them out on a clean towel and dab to remove excess moisture without damaging the tender leaves. I don’t recommend a salad spinner, as this will most likely damage your microgreens.
Harvesting Different Varieties
Not all microgreens are created equal, and some might require slight adjustments in technique:
- Delicate Varieties (like amaranth or cilantro): These require a light touch during both cutting and rinsing to maintain their structure.
- Hearty Varieties (like sunflower or pea shoots): They can handle more vigorous cutting and washing, but still be mindful not to crush their stems.
- Herb Microgreens (like basil or dill): They can be more prone to wilting, so work quickly and efficiently to minimize stress on your plants.
No matter the type, always aim for minimal handling to keep those tiny greens at their best post-harvest! For more delicious options, check out my favorite microgreens here.
Maximizing Yield
Even Cutting Techniques
Consistency is your friend when it comes to cutting microgreens. Even cutting can make a big difference if you’re eyeing a potential second harvest. Here’s how to keep it uniform:
- Use A Guide: Use the side of your container as a guide. In order to do this, you’ll need to make sure that you don’t fill your growing container to the top with your growing medium.
- Single Stroke: Make each cut in one smooth motion. Sawing back and forth can lead to uneven growth and potential damage to the plants.
- Straight Rows: If you’ve planted in rows, cut along them. This method not only keeps things tidy but also promotes uniform regrowth.
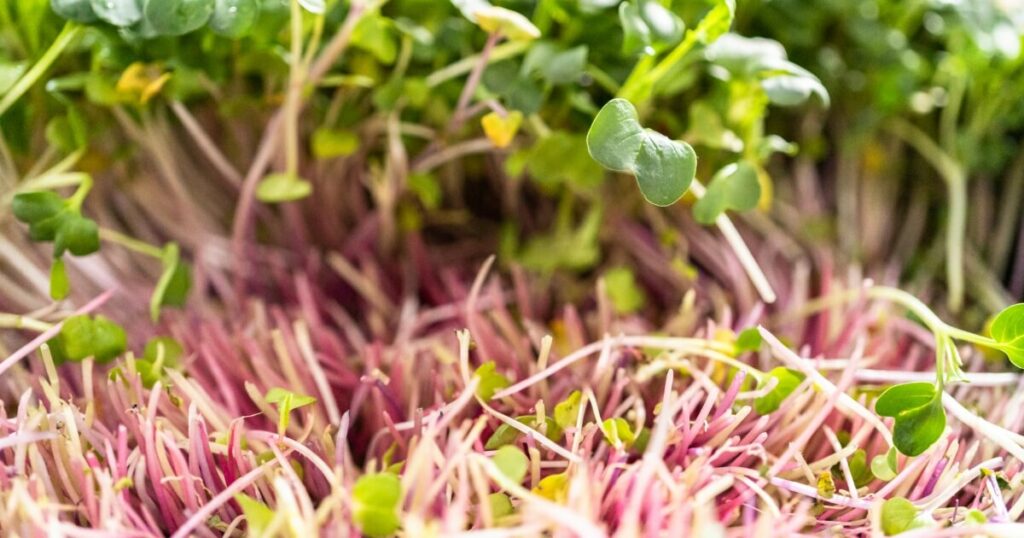
Do microgreens regrow after cutting?
Not all microgreens will regrow after harvesting, but these cutting techniques work well for those that do, like peas or certain types of lettuce.
Avoiding Damage to Roots
Protecting their roots during harvest is essential if you’re hoping for more than one round of greens from your plants. Here are some tips:
- Gentle Grip: When holding microgreens for cutting, use a light touch. A firm grip can dislodge roots from the soil and damage neighboring plants.
- Above-the-Soil Cutting: When snipping, position your scissors or knife about an inch above the soil line. This prevents any accidental nicks to the roots below.
- Leave Growth Points Intact: Be mindful not to cut into the growth points—those areas where new leaves will sprout from. They’re usually located at the base of the stem.
Being careful with your cutting technique and handling gives your microgreens a fighting chance at bouncing back for a second harvest.
Just keep in mind that while some varieties may regrow once or twice more, others are strictly one-hit wonders. Always check if your particular variety has regrowth potential before counting on another round of greens from the same seeds.
Post-Harvest Handling
Immediate Post-Harvest Care
Once you’ve harvested your microgreens, think of them as delicate little VIPs—they need to be treated with the utmost care.
Handle them as if they’re fine china. Any rough treatment can bruise their tender leaves and diminish their shelf life.If you don’t use them immediately, get those babies into the fridge pronto!
But don’t just chuck them in there. Place them gently in a container lined with a paper towels to absorb any excess moisture. This helps keep them fresh and perky for when you’re ready to whip up that gourmet salad or garnish.
Transporting
Are you delivering some homegrown goodness to a friend? Use a sturdy container with a lid that allows for some airflow—you don’t want the greens to steam themselves in an enclosed space.
If it’s a hot day, consider an insulated bag or cooler with an ice pack to keep things chill during transit. And as always, drive like you’ve got a sleeping baby in the backseat—no sudden stops or sharp turns that could send those greens tumbling!
Remember that guide I shared on storing microgreens? It’s packed with tips to keep your harvest vibrant and crisp until you’re ready to enjoy it. Make sure to read it so that none of your hard work goes to waste!
Common Mistakes to Avoid
Timing Errors
Harvest too early, and you miss out on the full flavor profile, and too late, they may become tough or lose their nutritional oomph. To steer clear of timing errors:
- Monitor Growth: Keep an eye on your microgreens daily. Growth can happen fast, and there’s often only a small window for the perfect harvest.
- Know Your Varieties: Different types of microgreens have different peak times. Get familiar with each variety’s growth pattern.
- Use Consistent Lighting: If you’re growing indoors, consistent light helps ensure even growth rates so you can better predict harvest time. So avoid the window sill.
Handling Mistakes
We’ve all been there—maybe we got a little overzealous with our greens or didn’t treat them quite as gently as we should have. Rough handling can lead to bruised, wilted, or otherwise damaged microgreens that just don’t look or taste as good.
Here’s how to keep your touch feather-light:
- Use Both Hands: Support the base with one hand while cutting with the other to minimize tugging on the stems.
- Transfer Gently: Move harvested microgreens to their container without piling them high. Think of stacking them like a deck of cards rather than dumping them like laundry.
- Avoid Squeezing: When rinsing or drying your greens, resist the urge to squeeze out excess water. Let gravity do its thing.
Frequently Asked Questions
How Long Do Microgreens Last After Harvest?
Microgreens generally stay fresh for 7 to 10 days in the refrigerator, stored in a breathable container with paper towels to absorb moisture. Their shelf life varies based on type and storage conditions, but I like to use them within about 4 or 5 days.
Can Microgreens Regrow After Harvesting?
Some microgreen varieties like peas and certain lettuces can regrow after harvesting if you cut them correctly, leaving the growth points intact. However, many types are one-time harvests, so you should check your seed variety’s potential for regrowth.
How Should I Store Microgreens After Harvesting?
After harvesting, store microgreens in a refrigerator in an airtight container lined with paper towels. Ideally, they should be used within a week for optimal freshness. Avoid compressing them in storage to prevent bruising and maintain their quality.
