Starting your garden from seeds is a bit tricky. It’s not just about plopping them into soil and hoping for the best. Timing, temperature, and tender care can make or break growth before they even begin to sprout.
The good news is that it’s simpler than you think, and you don’t need a botany degree to succeed!
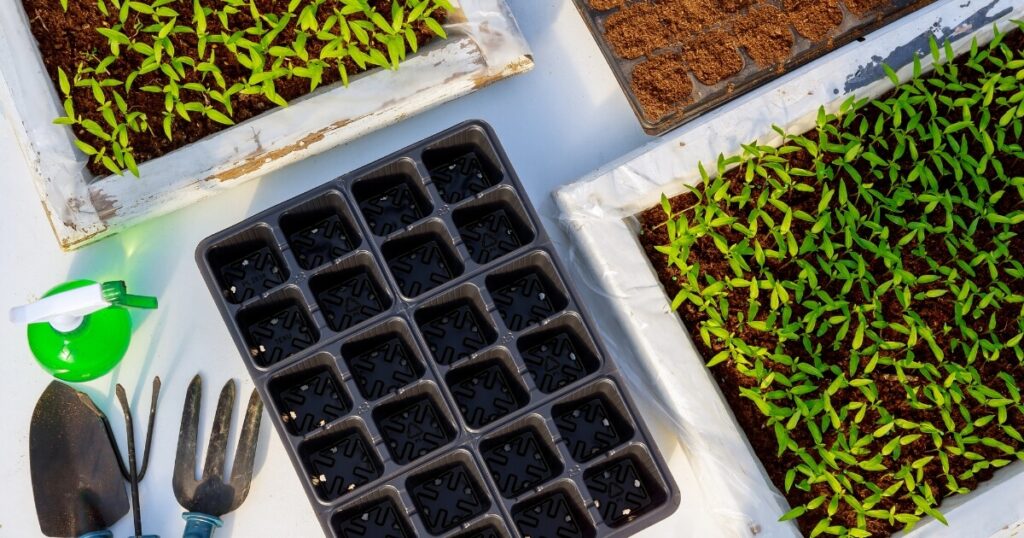
I’ll show you how starting your seeds indoors gets you a good start on the growing season. The best part is that you can choose from a variety of plants beyond what’s available at your local garden center at planting time.
Want heirloom tomatoes? No problem. Dreaming of that rare flower that would make your neighbors jealous? You got it!
Choosing Seeds & Planning Your Seed Starting
Selecting seeds might seem as simple as choosing your favorite veggies and flowers, but there’s more to it if you want to set yourself up for success. Here are some tips for picking the right seeds:
- Local Climate: Some plants love the sun, while others prefer shade. Make sure the seeds you choose are suited to the climate you live in.
- Garden Conditions: Got heavy clay soil or a spot that’s always soggy? You’ll need to fix those or pick plants that can handle your unique garden situation.
- Growth Habits: Know how big your plants will get. This will help keep paths available and prevent plants from fighting each other for nutrients or territory.
- Maturity Time: If you’re as impatient as I am, you might want fast growers. Check how long it takes for your plants to mature so you can plan accordingly.
Important Timings You Can’t Ignore
- Frost Dates: Know the last frost date for your area. You can find this info on the NOAA website here or by asking your local gardening center.
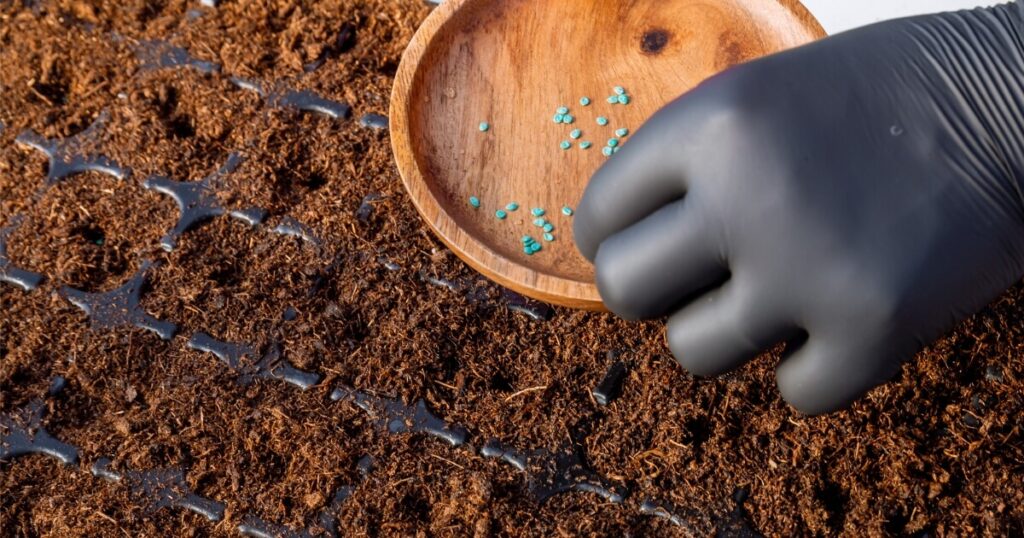
- Seed Packets: These little envelopes come with a lot of information, including when to start your seeds indoors.
Your initial planning will make things much easier later on. So, I like to do the following:
- Use Labels: Write down the plant name and date of planting on something that won’t fade or wash away easily, like a permanent marker on a popsicle stick.
- Keep Records: Jot down notes in a gardening journal or app about when you planted and any other details, like if you pre-soaked the seeds or used a particular starting mix. If you run into problems later on, you may be able to figure out what happened with these notes.
Choosing A Seed Starting Mix
When you’re all set to plant those eager seeds, the right seed starting mix is more than just a nice-to-have. It’s essential for giving your seeds the best environment to sprout and grow.
Think of it as the first home for your future plants – you want it to be cozy, supportive, and full of everything they need to thrive.
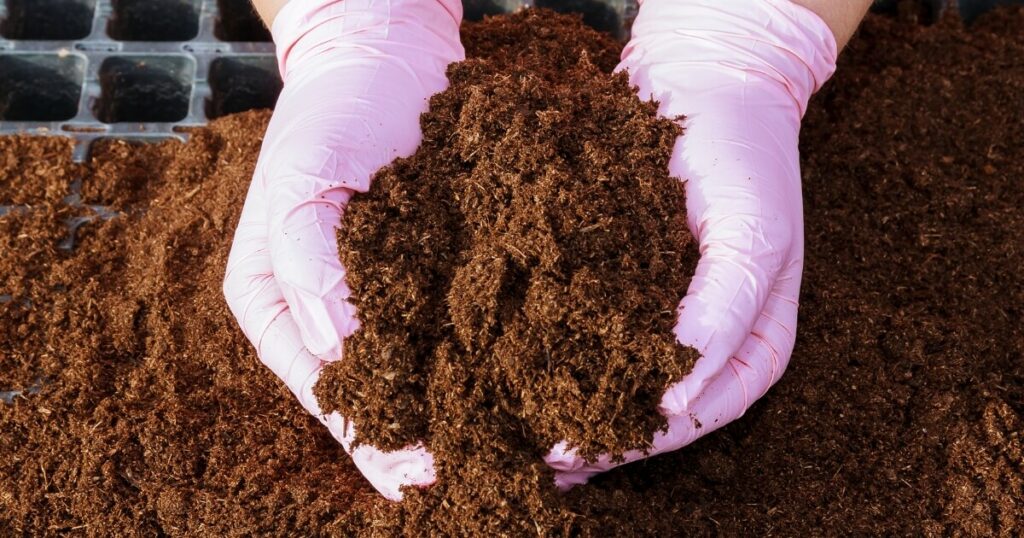
A good seed starting mix has:
- Drainage: Excess water needs to drain away quickly because seeds and seedlings can drown or rot in soggy conditions.
- Aeration: The mix should be light and fluffy, letting those tiny roots breathe and easily push through as they grow.
- Sterile Environment: A quality mix is usually free from pathogens that could harm your seedlings. You don’t want any uninvited guests at this stage of growth!
Most high-quality seed starting mixes will include a combination of the following:
- Peat Moss or Coconut Coir: These provide a light structure and hold moisture well.
- Perlite or Vermiculite: They’re the white bits you see in the mix that help with aeration and drainage.
- Compost or Worm Castings (sometimes): For a nutrient boost, some mixes include these, but often in very small amounts to avoid overwhelming young plants.
What To Avoid
Steer clear of heavy garden soil or topsoil for starting seeds. They can be dense, may not drain well, and could contain diseases or pests.
Feeling DIY? You can create your own starter by mixing equal parts of peat, perlite, and vermiculite. Make sure to moisten it and give it a good mix before using.
Here are some tips for all mixes:
- Moisten the Mix: Before you plop your seeds in, moisten the mix so it’s like a well-wrung sponge – damp but not dripping.
- Fill Your Containers: Leave a little space at the top so water doesn’t overflow.
- Planting Depth: Check your seed packets for planting depth. Some seeds need light to germinate and should sit right on top of the soil.
Not ready to get your hands dirty just yet? My Seed Starting Mixes Guide breaks down my favorites to help your seedlings become strong and healthy plants.
Seed Starting Containers & Trays
The real estate where your seeds begin their life is pretty important. You want to make sure they have a comfortable environment for germination. This is where containers and trays come into play, and you’ve got various choices depending on your preferences.
Types of Containers
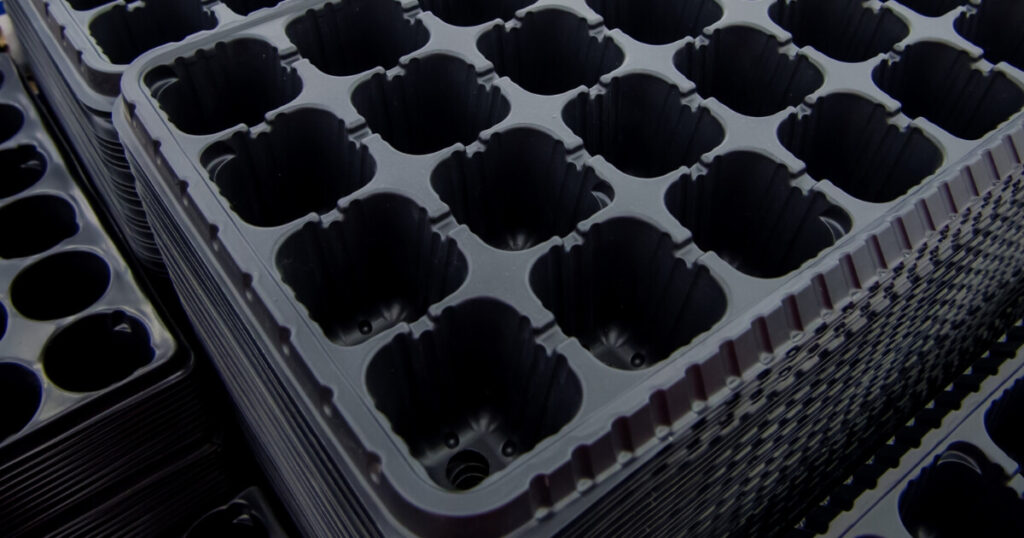
- Professional Seed Trays: These are designed specifically for seed starting. They hold multiple seeds in one tray, making it easier to manage large numbers of seedlings with individual cells for each seed. They often come with a clear dome to maintain humidity levels.
- Peat Pots: These are biodegradable pots made of peat moss that can be planted directly into the ground later on to help prevent transplant shock.
- Soil Blocks: A soil blocker compresses seed starting mix into compact blocks that hold their shape. Seeds are sown directly into these blocks, eliminating the need for a container.
- Upcycled Household Items: Egg cartons, yogurt cups, or even toilet paper rolls can be repurposed as seed starting containers. Just make sure that they’re clean and have drainage holes poked in them.
Container Selection
- Size: Make sure the container is deep enough for root development, usually at least 2-3 inches deep.
- Drainage: Good drainage to prevent waterlogging. You’ll need to add some if your containers don’t have pre-made holes.
- Cleanliness: To avoid disease, use clean containers. If reusing, wash them thoroughly with a mild bleach solution.
If you’re going the tray route, you’ll need to consider durability, size, and other features that may make growing a bit easier. Here’s my curated list of seed starting trays that I think will help regardless of your preferences or requirements.
Seedling Heat Mats
These handy devices gently warm the soil, helping to improve the germination process for many types of seeds, especially those that require more warmth than our homes typically provide.
- Faster Germination: By maintaining optimal soil temperature, seeds can sprout faster.
- Increased Success Rate: Even heating can lead to more seeds germinating successfully.
- Year-Round Growing: Heat mats allow you to start seeds early in the season when it’s still too cold outside or even grow certain plants indoors during the winter.
Tips for Using Heat Mats
- Placement: Place your heat mat on a flat surface and set your seed tray on top. It’s important to keep things clean and dry to prevent accidents.
- Monitoring: Monitor your soils moisture since the additional warmth will cause the soil to dry out quickly. You might need to water more frequently.
- Safety: Only use heat mats designed for seed starting, as they are waterproof and safe for this purpose.
If you’re searching for a quality seedling heat mat that suits your gardening setup, head to my Seedling Heat Mat Guide, where I explain my favorite picks.
Pre-soaking Seeds Before Planting
Before you tuck your seeds in the soil, consider giving them a pre-planting soak. Pre-soaking can be particularly beneficial for seeds with thicker coats, helping to soften them up and reduce the time it takes for germination.
While many seeds can benefit from pre-soaking, it’s not a one-size-fits-all approach. Research your specific seed types or check seed packets for recommendations on whether soaking is advised.
Why Pre-soak Your Seeds?
- Quicker Germination: Water penetrates the seed coat, signaling the seed to wake up from dormancy and grow.
- Improved Absorption: Pre-soaking ensures that water gets right into the seed, which is essential for activating enzymes that kickstart growth.
- Softening Hard Seeds: Some seeds have tough outer shells that can slow down water absorption. Soaking helps to soften these shells.
How To Pre-soak Seeds
It’s a simple process but requires a gentle touch:
- Choose the Right Seeds: Not all seeds benefit from soaking. Generally, larger seeds or those with harder coats are good candidates.
- Prepare Warm Water: Use room temperature or slightly warmer water to encourage soaking without shocking the seeds. Never use boiling water.
- Soaking Time: 12 to 24 hours should be enough time. However, avoid soaking for too long as seeds might begin to rot or ferment.
- Use a Container: Place seeds in a shallow bowl or container and cover them with water. The seeds should swell a little as they take on water.
- Drain and Plant: After soaking, drain the seeds and plant them promptly in your prepared seed starting mix.
If you’re intrigued by the idea of pre-soaking your seeds and want more detailed guidance on which seeds to soak and how long to keep them in their watery prep stage, take a peek at my Soaking Seeds Before Planting Guide. This resource will help you master the art of pre-soaking so you can give your seeds that extra edge toward successful germination.
Grow Lights & Lighting Requirements
Even the most pampered seedling won’t reach its potential without adequate light. They can become weak and leggy as they stretch too far in search of sunlight and ultimately die.
That’s where grow lights come in! With the right lighting setup, your seedlings develop sturdy stems and vibrant leaves, setting them up for a successful transition to your garden.
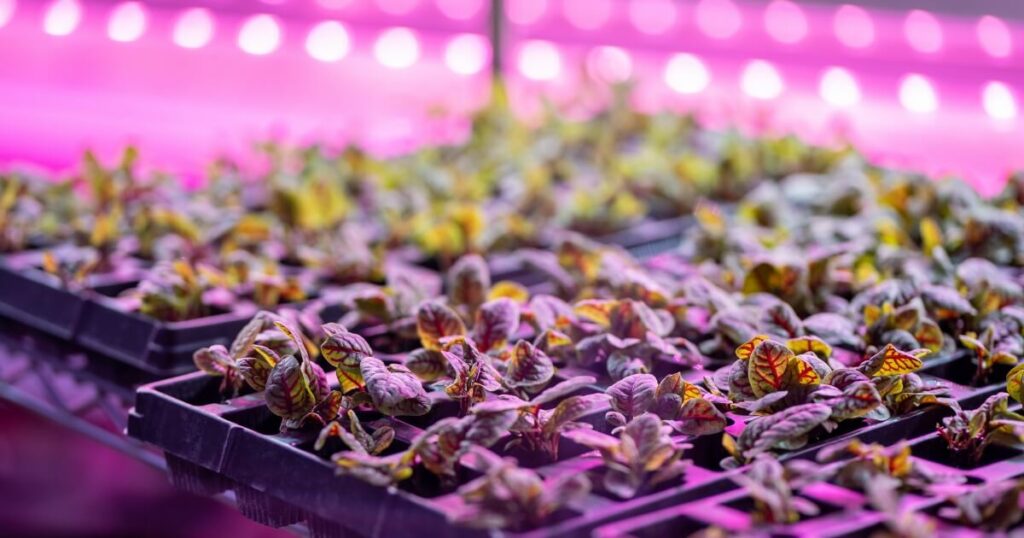
- Fluorescent Lights: These are a popular choice because they’re energy-efficient and produce low heat. They work well for most leafy greens and herbs.
- LED Lights: LEDs are more energy-efficient than fluorescents and last longer. They’re great for a variety of plants and can come with adjustable spectrums to cater to different growth stages.
- High-Intensity Discharge (HID) Lights: These are more powerful and are typically used by more serious growers or for larger plants.
Light Quality
- Spectrum: Plants prefer blue light for leafy growth and red light for flowering and fruiting. Many grow lights combine both for an all-purpose solution.
- Intensity: The brighter the light, the better it is for growth. However, too much intensity can damage delicate seedlings.
When setting up your lights, consider these tips:
- Height: Keep lights close enough to your seedlings without overheating them.
- Duration: Aim for 14-16 hours of light per day. Seedlings need a break, so don’t leave the lights on around the clock. To make life easier, consider using timers to automate when your lights turn on and off. It’s one less thing to worry about. Here’s more on when to put light on seeds.
- Adjustability: You’ll need to raise the lights as your plants grow. Choose a setup that’s easy to adjust.
Watering & Humidity
When your seedlings have sprouted, and you’ve got your lighting dialed in, it’s time to talk about water and humidity. These elements are like the lifeblood of your plant nursery, essential for keeping those little green sprouts happy and growing.
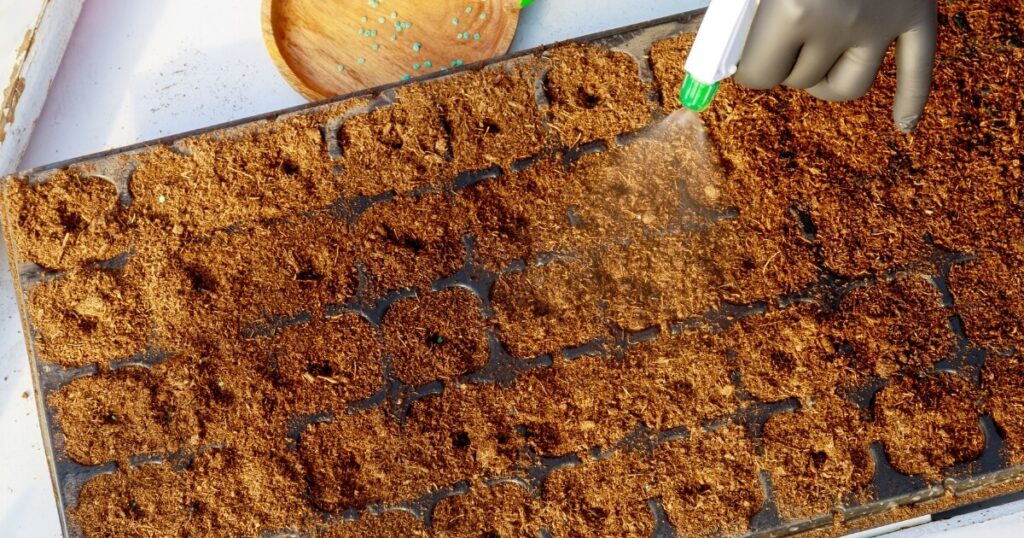
Seedlings need enough water to grow, but not so much that they drown or fall victim to fungal diseases like damping-off.
- Consistency: Your soil should be consistently moist but not soggy. It’s a delicate balance that requires checking in on your plants regularly.
- Gentle Watering: Use a misting bottle. A regular watering can will uproot and damage tender seedlings.
- Bottom Watering: This is a pro move that I’m a fan of. Fill a tray with water and let the seed starting containers wick up moisture from the bottom. This encourages deeper root growth and keeps foliage dry, reducing disease risk.
Humidity is another important player in seedling health, particularly right after germination when the root system isn’t fully developed.
- Humidity Domes: These clear covers create a greenhouse effect, trapping moisture and warmth.
- Plastic Wrap: If you don’t have a dome, covering your trays with plastic wrap can do the trick—just remove it once seeds have germinated to prevent mold growth.
- Spray Bottle: A quick spritz can increase the humidity around your plants, just like a mini rainforest.
To avoid problems, keep an eye out for these clues that your watering schedule needs adjusting:
- Dry Soil Surface: If the top looks dry and dusty, it’s time to water.
- Wilting Seedlings: This is a sign they’re thirsty and need a drink immediately. Unfortunately, because they are so delicate, it may already be too late.
- Yellowing Leaves: Overwatering alert! This could indicate that roots are suffocating from too much water.
Remember, each plant has its own preferences when it comes to moisture. So, always check the specific needs of what you’re growing.
Feeding & Fertilizing
When seeds first sprout, they rely on energy reserves stored in the seed itself. But once they unfurl their true leaves, it’s time to start thinking about feeding.
- True Leaves: These are the second set of leaves that appear after the initial seed leaves, or cotyledons. Once you see these, your seedlings are ready for some extra nutrition.
- Seed Starting Mix: If you’ve used a mix, it likely has some nutrients in it already, but these can be quickly depleted as plants grow.
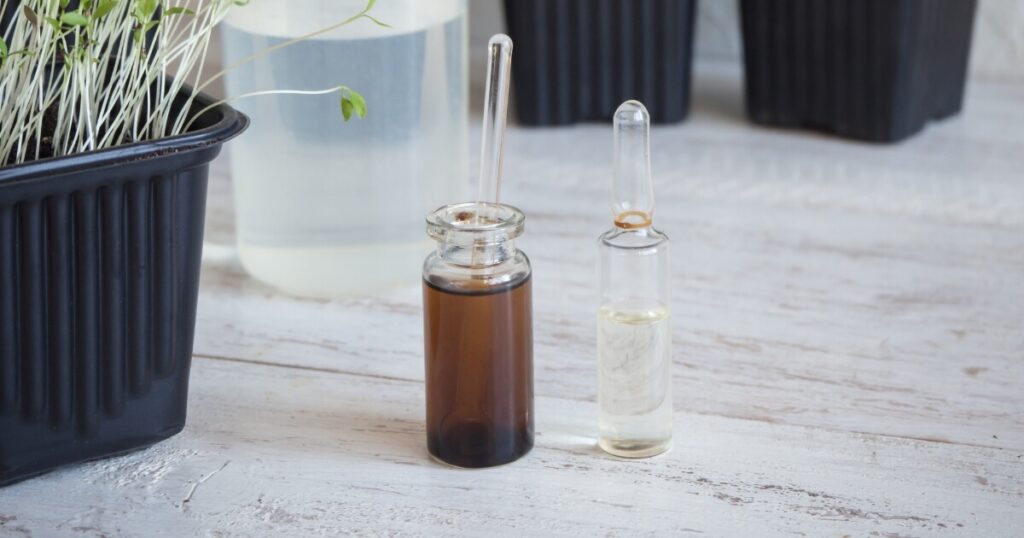
Your tiny plants need a gentle introduction to fertilizers. A balanced, water-soluble fertilizer is typically a good choice.
What To Look For
- Low Concentration: Seedlings are sensitive, so opt for a fertilizer with a low concentration of nutrients. You can even dilute it further with water than recommended initially.
- Balanced Formula: Look for something with an even N-P-K ratio (that’s nitrogen-phosphorus-potassium) to encourage all-around growth.
- Organic Options: Plenty of organic fertilizers can provide gentle nutrition if you’re looking to keep things natural. But it can be a challenge to dose correctly.
Applying Fertilizer:
- Follow Directions: More is not always better. Use the amount recommended on the package.
- Frequency: Start with a weak solution and gradually build up as the plant grows.
- Application Method: Use a watering can or mix it into your watering system for even distribution.
After you begin fertilizing, watch your seedlings for signs of how they’re responding. Signs to Watch For:
- Lush Growth: This indicates they’re getting enough nutrients.
- Yellowing or Pale Leaves: They might be hungry and in need of more frequent feedings. However, this could be confused with over-watering.
- Burnt Tips on Leaves: This could mean you’ve been a bit too generous with the fertilizer.
With thoughtful feeding and fertilizing practices, your seedlings will have all they need to develop into strong, healthy plants.
Germination & Troubleshooting
How long should you wait for your seeds to sprout? And what if nothing happens? Let’s get into the expected germination times and how to troubleshoot when things don’t go as planned.
Each type of seed has its timeline for germination. This can range from as little as a couple of days to several weeks.
- Seed Type: Some seeds, like lettuce and radishes, are known for quick germination. Others, such as parsley or peppers, take their sweet time.
- Seed Age: Older seeds may take longer to germinate if they do at all. Always check the expiration date on your seed packets.
- Conditions: Temperature, moisture, soil type, and light can all affect how quickly seeds germinate.
Here are some common problems and potential solutions for when your seeds don’t sprout as expected:
Non-Germinating Seeds:
- Check Conditions: Make sure you’re providing optimal soil temperature and moisture.
- Patience Is Key: Some seeds just take longer. Refer to the seed packet for typical germination times.
- Test Seed Viability: If you’re using old seeds, try a germination test by placing a few on a damp paper towel to see if they sprout.
Mold or Fungus:
- Air Circulation: Improve ventilation around your seedlings to reduce excess moisture.
- Reduce Humidity: Remove any humidity domes once seedlings emerge and ensure trays aren’t overly wet.
- Sanitize Equipment: Clean trays and tools to prevent the spread of spores.
- Damping Off: This is a fungal disease that can cause seedlings to collapse at the base.
- Preventive Measures: Use sterile seed starting mix and containers, avoid overwatering, and provide good air circulation.
Don’t get discouraged if every seed doesn’t sprout. With so many factors that have to go right, growth is not 100% guaranteed.
Thinning & Transplanting Seedlings
As your seedlings grow, it’s time to thin them out and eventually move them into their forever homes.
Why Thin Your Seedlings?
- Space to Grow: Overcrowded seedlings compete for light, nutrients, and water. Thinning helps prevent this competition.
- Air Circulation: Adequate space between plants reduces the risk of disease.
- Stronger Plants: The seedlings left behind have more resources to become robust plants.
Thinning Seedlings
- Choose the Strongest: Keep the healthiest-looking seedlings and remove the weaker or smaller ones.
- Snip, Don’t Pull: Use scissors to snip off the unwanted seedlings at the soil level. Never pull them out which can disturb the roots of the ones you want to keep.
- Spacing: Refer to the seed packet for recommended spacing between plants.
Tips for Successful Transplanting:
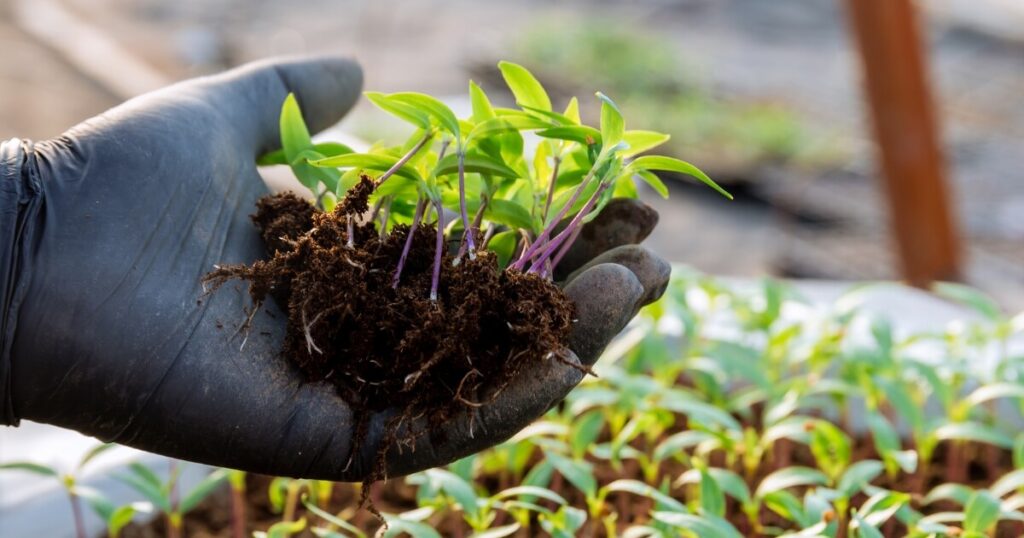
- Timing: Wait until seedlings have at least two sets of true leaves and are strong enough to handle the move. For a full explanation and all the signs you need to know, check out my When To Transplant Seedlings Guide.
- Preparation: Water your seedlings well before transplanting to minimize stress and make removing them from their containers easier.
- Handle with Care: Never hold your seedlings by their leaves or delicate stems when moving them.
- Hardening Off: Begin by placing your seedlings outside for a few hours each day in a sheltered spot, gradually increasing their exposure over a week.
- Timing: Start after the risk of frost has passed unless you’re dealing with cool-season crops that can handle a chill.
- Final Planting Spot: Choose a cloudy day or late afternoon for transplanting to reduce stress from direct sun.
- Check out my Moving Plants Outdoors Guide for more tips on transitioning indoor plants outdoors without causing them stress.
Take a moment to pat yourself on the back for every sprout that pushes through the soil and every seedling that grows strong under your care. These small victories are what gardening is all about!