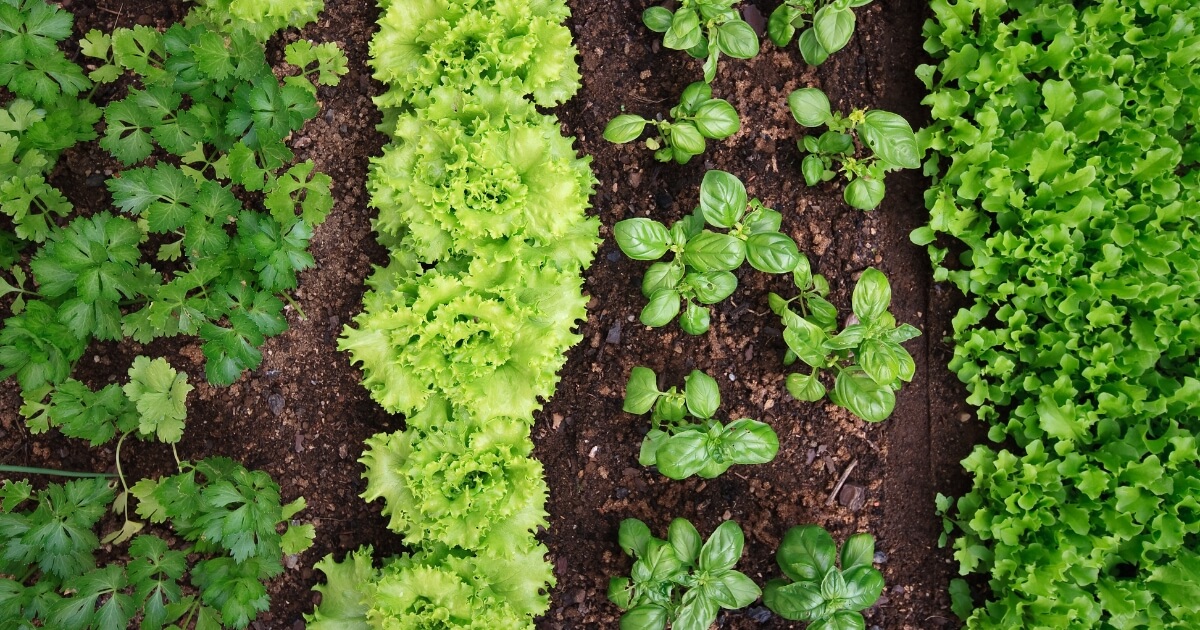
These miniature plants are have become incredibly popular with home gardeners because of their ability to grow quickly and easily, as well as for being a nutrient-rich alternative to conventional vegetables.
With so many types of microgreens available, how do you know which ones you should grow?

If you’re a microgreen beginner, it might be best to get started with some of the easier to grow and most nutritious microgreens.
Once you get the hang of growing those, you can later experiment with some of the more challenging plants.
The following microgreens are tasty, nutritious, and easy to grow, making them the best options for new and experienced growers alike.
Best Microgreens to Grow
If you’re wondering what the best seeds for microgreens are, you may be surprised to learn you can use the seeds for any veggie or herb that’s entirely edible.
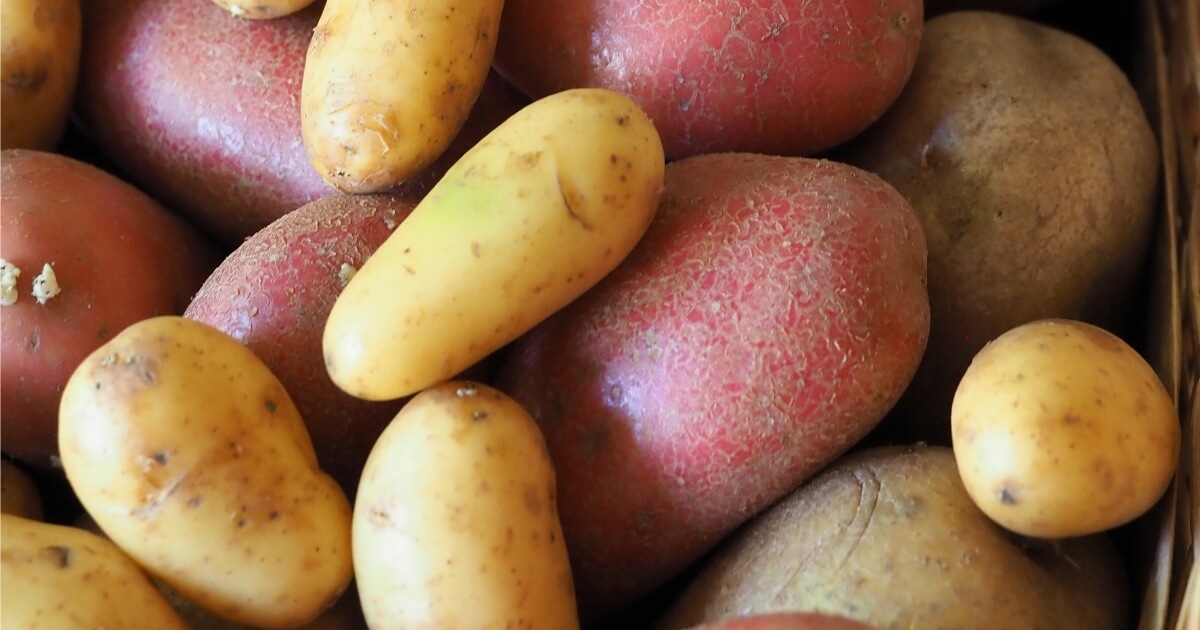
As a rule of thumb, just stay away from plants in the nightshade family, such as tomato, potato, eggplant, and pepper.
Find out what the best tasting microgreens to grow are in our list below.
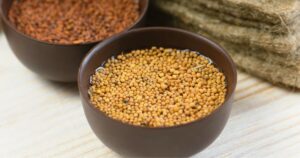
Mustard Greens (Brassica juncea)
Mustard is an easy to grow and very flavorful microgreen that provides a spicy kick to any meal. They are high in vitamins A and C, iron and beta-carotene and are one of the fastest-growing microgreens you’ll find. You may be able to harvest your mustard micros after just 5 days of growing.
If you want some color as well as spice, try growing the red mustard variety.
How to grow:
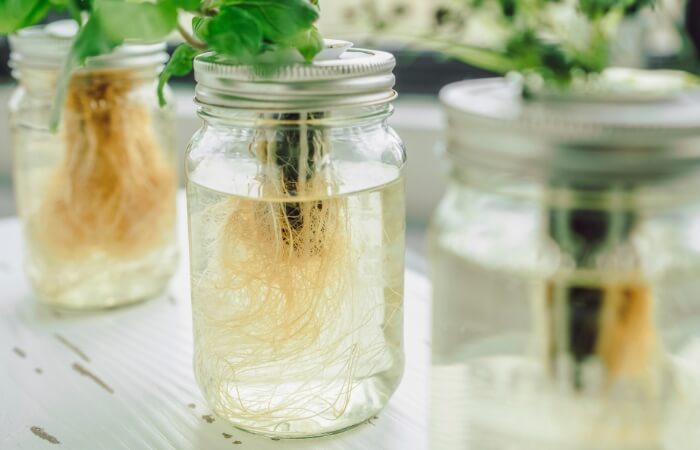
Can be grown in soil or hydroponically. Densely plant your moist growing medium and cover for two days or until the seeds germinate.
It’s recommended to move the sprouts under a grow light at this point, to prevent the sprouts from stretching and getting too stemmy. Harvest in 5 to 12 days.
Sunflower (Helianthus annuus)
If you’re looking for a unique flavor and texture for your dish, sunflower microgreens are the way to go. High in vitamins A, B, D and E, calcium, iron and more, sunflower microgreens offer a crunchy and nutty flavor that goes great with almost any meal. These large micros make a delicious snack, and each one is around 25% protein!
How to grow:
They are easy to grow and will be ready to harvest in 7 to 10 days and should be planted in soil.
Simply soak seeds in cold water for a few hours and plant directly into the soil. Spread them evenly in your growing tray and cover until they germinate.
Mist only as necessary to keep the soil moist.
Kale (Brassica oleracea)
Another easy to grow micro, kale can be found in different varieties and stems of different colors. High in antioxidants, vitamins A, C and K, copper and sulforaphane, kale microgreens have a nutty flavor similar to mustard, just not as spicy.
How to grow:
Kale micros will be ready to harvest in 8 to 12 days and can be grown hydroponically or in soil. Moisten your growing medium and spread your kale seeds across the surface.
You can plant densely for a thicker crop but must stay mindful not to over-seed, as this may cause your crop to fail.
Cover your seeds for a couple of days until they germinate and then place under a light. Water as needed until your crop is ready to harvest.
Broccoli (Brassica oleracea)
Considered to be one of the most nutritious of all vegetables, broccoli microgreens are packed with vitamins A, B and C, iron, copper, fiber and sulforaphane. Their crunch and strong brassica flavor make them favorites among microgreen growers everywhere.
Broccoli micros are so nutritious and easy to grow, they’re being considered as a way to possibly solve world hunger. Broccoli micros are possibly the most nutritious microgreens you can grow.
How to grow:
Broccoli microgreens will be ready to harvest in 7 to 14 days and can be grown in soil or hydroponically. Evenly spread your seeds across your moistened growing surface and cover until your seeds germinate.
When they germinate in 2 to 3 days, uncover them and place them under a grow light or in an area where they’ll receive plenty of sunshine and plenty of airflow.
Broccoli sprouts can emit a farm-like smell, which is perfectly normal for plants in the Brassica family.
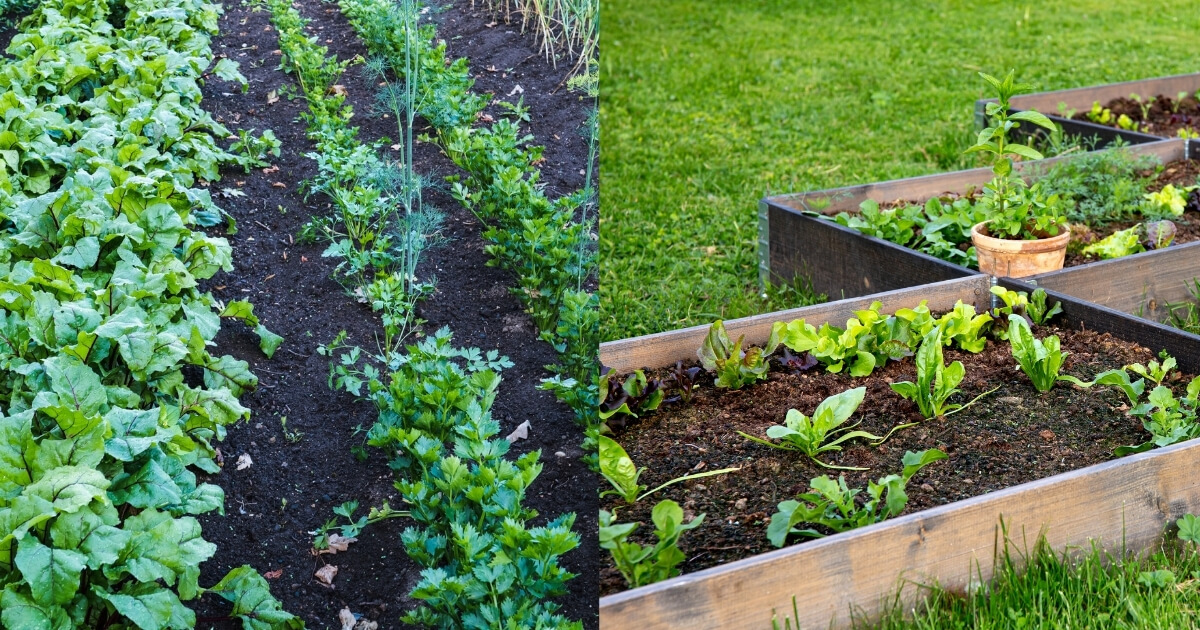
Beets (Beta vulgaris)
Beet microgreens have vibrant purple stems and leaves and are considered to be even more nutritionally dense than mature beets! They are rich in vitamins A, B, C, E and K, calcium, magnesium, potassium, zinc, and more.
Beet micros have a delicious, spinach-like flavor and not only taste great but look great too.
How to grow:
Beet micros do best in soil. Soak your seeds for 4 to 5 hours in cold water and then plant in your growing medium. Cover with a thin layer of soil and cover until seeds germinate. Place under light and allow to grow until first true seeds emerge.
Beet microgreens should be ready to harvest in 11 to 21 days.
Peas (Pisum sativum)
Another favorite of microgreen growers, pea microgreens are crunchy and sweet. They make a great stand-alone snack but can also be added to salads or stir-fries to increase flavor and nutritional content of your meal. These fast-growing micros are rich in vitamins A and C, folic acid, calcium, iron, and fiber.
How to grow:
Presoak seeds in cold water for 4 hours before planting. Pea micros can be grown hydroponically but do best in soil due to their extensive root systems.
Spread them on top of the soil and cover them until they germinate in 2 to 3 days. Then uncover and place under lights or in a sunny spot. You should be able to harvest your pea microgreens in 12 to 16 days.
In Summary
These six microgreens are some of the best you can grow, especially as you’re getting started.
They are rich in vitamins, minerals, antioxidants and other nutrients that you and your family need to stay healthy, and you can get them all for half the cost of full-sized veggies.
They’re also all delicious and make great additions to almost any meal you can prepare. Add them to everything from salads to sandwiches to your meat dishes for a unique burst of flavor and color.
Use them to garnish your meats, mix them into your salads and sandwiches, or simply snack on them throughout the day. No matter how you eat them, you’ll be glad you grew these tasty microgreens.
And by growing them yourself, you’ll be paying only a small fraction of the price of what buying them at the store would cost you. You can’t go wrong with growing this handful of microgreens in your home or garden.