I’ll never forget the first time I saw a healthy-looking hanging garden chock full of a variety of vegetables.
I stopped to take in this impressive display and sneak some pictures. I was hyped to retry this upside-down growing method!

Several successful years later, I can confidently share my hands-on knowledge in this upside-down gardening guid.
What Happens If You Grow A Plant Upside Down?
If you were me and made an attempt using the highly-advertised upside-down tomato planters that became popular many years ago, the answer to this question would be, “It dies!”
Now that I know specific plants can thrive while growing them upside down, some things do happen when you plant them in this manner.
While I can explain my initial failed attempt growing upside down tomatoes as a mix of novice-level gardening skills and a less-than-quality product, I also know that it’s not natural for plants to grow this way, and they will want to fight you!
To help you fully understand what happens when you grow a plant upside down, study the pros and cons of upside-down gardening down below.
Pros Of Upside-Down Gardening
- Saves space – You can hang plants out of the way and off the ground for more lawn area or patio space
- Reduces pest issues – Common garden pests and diseases can’t easily get into the dirt or reach the hanging foliage
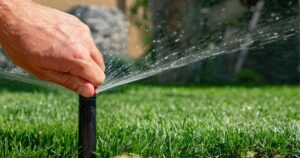
- Easier to water and fertilize – You can deliver water and nutrients directly to the roots
- Increases light exposure – When hanging in a good location, more sunlight can reach the leaves
- Better airflow – More air circulating the foliage and planter reduces mold or fungi issues and increases oxygen to the root system
- Easier to maintain – No weeding or staking and pruning back growth or harvesting produce is at a level that avoids the need to stoop or kneel
- Less stress on the plant – Gravity helps draw moisture and nutrients into the leaves, so plants use less energy
Cons Of Upside-Down Gardening
- Gravity – While plant foliage happily gives way to the pull of gravity, the roots are also affected, which can cause issues if they escape the pot
- Reaching for the sun – Plants need sunlight to grow and will contort into odd shapes to reach it
- Soil dryness – Just like container gardening, upside-down planters dry out faster due to an increase in airflow and heat exposure
- Weight – Upside-down planters full of moist soil is already heavy, but a full crop of veggies add tremendously to the weight. A solid structure is a must to hold this type of planter
- Plant variety – Upside-down planters can’t grow every type of plant well. This type of planter will limit your plant choices, especially for vegetable gardening
Growing Vegetables Upside Down
Are you ready to start growing vegetables upside down?
To do so, you need to start by first choosing which crops to grow, the location you want to hang them, and the style of planter you will use.
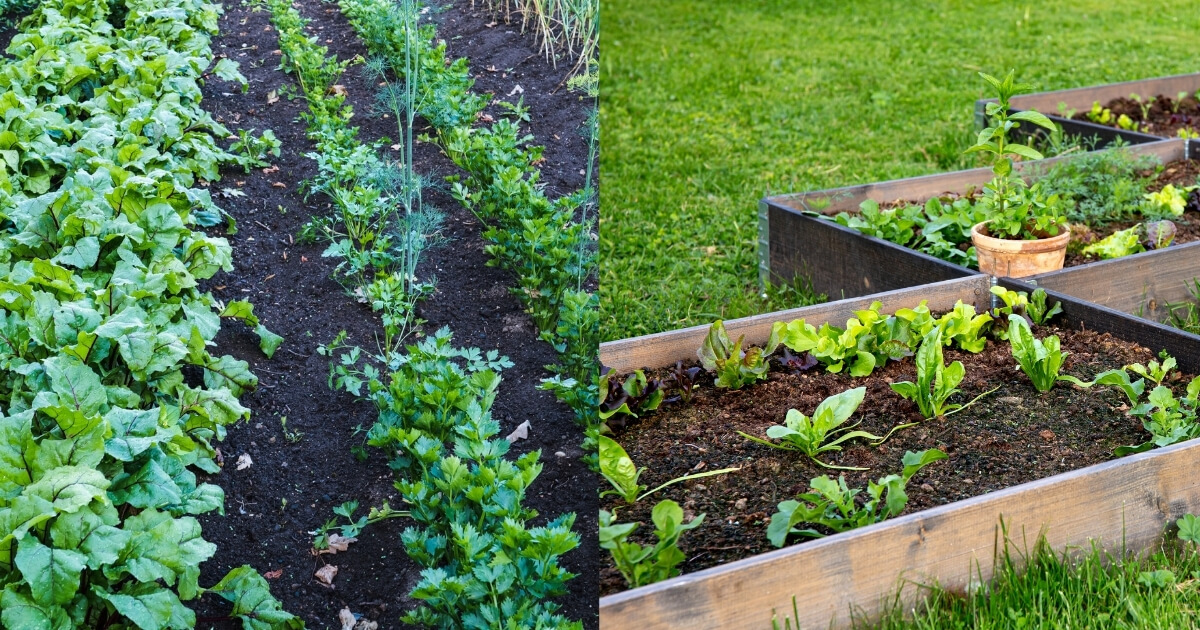
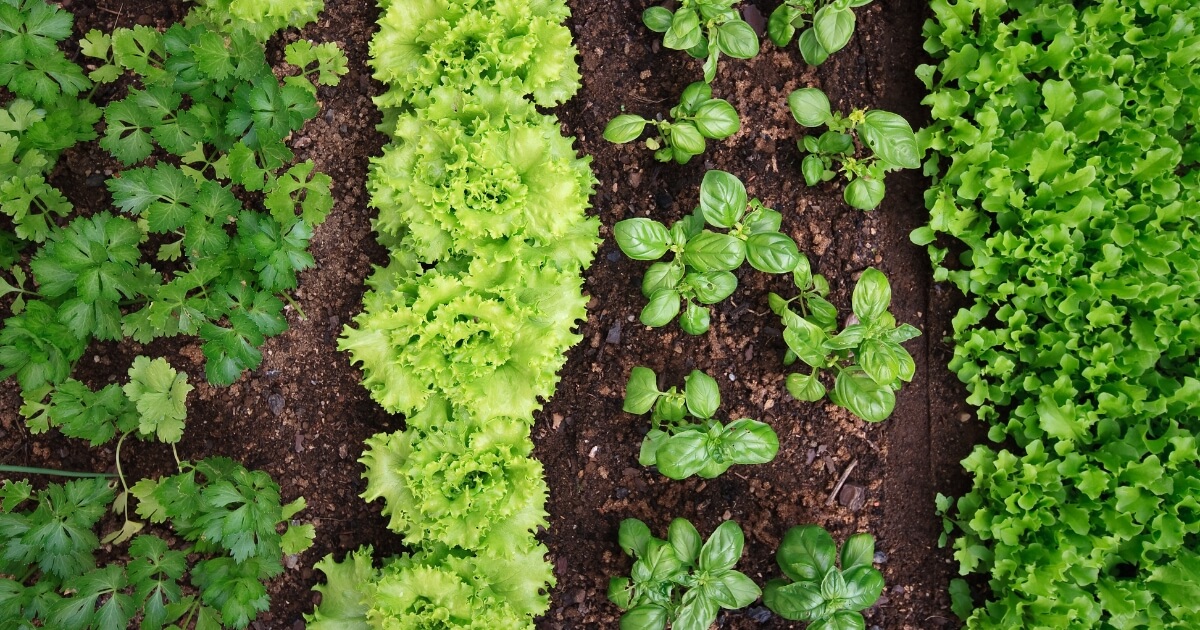
I recommend you only plant these vegetables and herbs in upside-down gardens:
- Tomatoes (smaller varieties)
- Zucchini
- Beans
- Peppers
- Eggplant
- Squash
- Basil, thyme, oregano, rosemary
- Cucumbers
These are the tried-and-true plants that perform the same, if not much better, in an upside-down planter over inground garden plots. As you gain more experience, you can branch out to experiment with other vegetable varieties, but these are proven performance winners.
What You Need
Now it’s time to discuss the other two start-up requirements for upside-down gardening, which is the location and style of planter.
Location
From my experience, I suggest you locate your hanging garden in an area that provides full 360-degree exposure to sunlight. Doing so will ensure your plants get sunlight all through the day as the sun passes across the sky as most vegetables do best with eight full hours a day.
A decade ago, my initial failure with my upside-down tomato planter I now know was partially because I hung it off my house eave.
While it was a very convenient location for me to see and remember to water the plant, I now realize the sun only hit the planter fully for maybe four hours a day. The plant sides nearest the house got hardly any direct sunlight at all.
Test out the sunlight conditions at any place you are considering using an upside-down garden planter. Pass on areas that only get full sun less than six hours a day. If you find a perfect spot that is only sunny on one side, be ready to turn those pots daily to ensure even sunlight exposure.
Planter Style
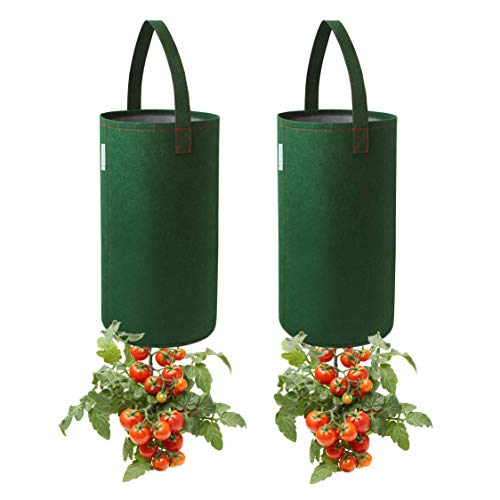
The style of the planter you choose is critical. While the bag-style planters are all the rage, the material is very porous, which causes problems such as excessive dryness (another reason my first upside-down plant died.)
Pri Gardens Upside Down Tomato Planter | Editor Recommended
Top Features
- Single Strap Design
- Fabric Material
Five-gallon plastic buckets perform great from my own experience, are inexpensive to purchase, and you can paint them to match your home’s aesthetic.
Commercial upside down grow bags still work, which makes the brand Topsy-Turvy a continual best-seller. Still, I found making a few alterations to these bags can be helpful under certain circumstances, which I will discuss further below.
The rest of the materials will be supplies, such as:
- Upside down planter kit from store
- For DIY planter: A 3 or 5-gallon bucket (with lids if possible)
- Potting soil
- 5-inch x 5-inch section of stiff window screening (scraps are fine)
- Vegetable plant that is at least six inches tall
- Chain or rope and S-hooks
- Sturdy plant hanger that can hold a minimum of 20 pounds
- Drill with a hole-saw bit or a 3/8-inch drill bit and a jigsaw
How To Get Started
Now that you have your location and the veggies you wish to plant, you need to fill the planter and decide how to hang it safely.
If you are going to DIY an upside-down gardening planter, use a three or five-gallon bucket and follow these instructions:
- Step 1. Wash the bucket well with detergent and water
- Step 2. Turn the bucket upside down and use a hole saw or jigsaw to cut a two-inch diameter hole in the center of the bottom
- Step 3 (optional). If you plan to grow smaller bunches of herbs, you can cut three evenly spaced holes around the perimeter of the bucket bottom about three inches out from the center
1 – Fill The Planter
Start filling the planter by cutting an “X” shape in the center of your screening. Bend the sections back to form a hole in the center.
Remove your veggie plant from its container and carefully slide the stem through the screen’s hole, taking care not to damage the leaves. Leaving about an inch or so above the root ball, gently bend the screening back towards the stem. You want to allow space for the stem to thicken up but not let dirt fall out.
Temporarily hang your planting container with the cut (or planting) hole at the bottom at a height comfortable for working.
Hold the plant you put in the screen upside down and gently push it through the hole at the bottom of the planter, again being careful not to harm the foliage.
The root ball should “float” about an inch or so above the pot’s base, and the extra screening dimension should keep the plant from falling through the hole.
One handful at a time, gently fill the pot’s base around and under the plant’s roots with potting soil. Once you fill the bottom to the roots’ height, dump in more potting mix and fill the planter until there are about four to six inches of space left at the top.
2 – Lid Or No Lid?
If my bucket came with a lid, I would drill a bunch of small holes in it and place it on my planter. The cover keeps out excessive water from rains and creates shade for the soil but allows some moisture and air to penetrate, reducing overall maintenance.
If you don’t have a lid for your bucket, it’s still okay since the large hole in the base will quickly drain off water from heavy rains.
My favorite tips to increase the success of upside-down gardening when you don’t have a lid is to use a good layer of mulch on top. You can also top-plant lettuces or herbs—planting short-root crops on the surface help shade the soil without interfering with the plant growing upside down below.
3 – Hanging Your Upside Down Planter
If you are hanging your planters from a wooden arbor-like structure, use a section of rope or a chain and S-hooks to go around a beam and connect to the upside-down planter’s handle.
For other locations, such as a roof eave, you can screw a large eyebolt into the underside to hook or tie on the planter. Ensure you are screwing the bolt into solid wood framing and not just the thin vinyl, wood, or aluminum covering.
If you are hanging the planter from the sides of buildings, trees, or poles, attach a heavy-duty hook that can handle a lot of weight and allows enough clearance for the pot to hang freely.
4 – Hanging Height
There is no set height to hang your planter, as long as it’s comfortable for you to add water and fertilizer, or harvest any crops you may plant on the surface.
I like to leave extra rope or chain to adjust my upside-down planter’s height as it grows, raising it higher as the stems grow longer underneath.
Never let it hang so low the foliage reaches hungry animals, or drags on the ground and invites pests or diseases to infest the plant.
Expert Tips
I find that some DIY buckets have handles that are not very firmly attached, and have had planters break apart, fall, and crush the plant after they get heavy with produce.
Now, I always remove the handles and drill holes in three spots around the bucket’s top edge and use rope or chain instead to avoid possible handle failures and crop damage.
I have found that using store-bought upside-down planters, which are often of thin, plastic-like material allows the soil to dry out very, very quickly. My solution to this issue is to set up a drip-irrigation system above them to keep them moist without a ton of work.
I also wrap and clip a layer of plastic around the sides during the hottest and dryest part of the growing season to hold moisture in.
Upside Down Tomato Planters
Tomatoes are the most popular plant to grow upside down because they have long, thick viney stems that hold up well to this gardening style.
Choose varieties that are smaller, such as cherry tomatoes or brandywine.
In general, indeterminate varieties are more suited for upside-down gardens as they have longer and more flexible stems that can twist to capture sunlight. When fruits start to appear, they are spread throughout the season, so you can reduce weight by continually harvesting.
Determinate tomato plants have shorter and more rigid stalks that can’t stretch as well to reach sunlight, and they also grow all their fruit at once, which can easily weigh down and break off stems or, even worse, the planter handle.
Advantages Of Upside-Down Tomato Gardens
The most significant advantage of growing tomatoes upside down is the ease of care. You don’t have to stake and tie the plant to keep it from falling over, you can get moisture and nutrients quickly to the root system with no guesswork, pest issues are significantly reduced, and you can harvest more fruit free of damage from touching the ground.
Disdvantages Of Upside-Down Tomato Gardens
Abnormal growth can be an issue, but it’s mostly aesthetic. While the foliage, especially when it’s still short, may grow oddly to access light, it looks lush and appealing once it stretches out.
I suggest raising pots as far as possible while the plants are starting out. Keeping them high off the ground allows the most sunlight to reach the leaves, especially if they are in a wide-bottom five-gallon bucket that creates a lot of shade.
The other real issue with upside-down tomato planters is how heavy they can get when full-grown and ripe with fruit. Make sure all hardware you use to support the planter is extra strong and durable.
Upside-Down Strawberry Planters
Strawberries are the best fruit to grow in an upside-down planter. The only real difference you’ll find with an upside-down strawberry planter is that the holes for planting are around the sides of the pot and usually not the bottom.
Strawberry planters are more straightforward to fill by popping plants through the sides where they hold themselves in place as you fill the planter with soil.
The planters are also reasonably light and shade themselves as foliage thickens, which reduces moisture loss.
In Summary
I love gardening and sharing the fun and interesting things I learn to increase others’ enjoyment and success. Taking tips from those who have gone through the ups and downs of different methods can make you a better gardener faster since you can avoid the mistakes we had to learn the hard way.
I hope this upside-down gardening guide inspires you to give this method a try. Once you get the knack for upside-down garden care, you’ll become a convert!