Turnips are a tasty root vegetable with edible greens that all home gardeners can grow.
The versatile turnip grows fast, comes in a wide variety of flavors and textures, and is easy to maintain.

In this turnip growing guide, you can quickly learn to:
- Plant turnips in the correct season
- Grow new turnip plants from seed
- Grow new plants from turnip tops
- Harvest turnips
Once you see how you can grow turnips successfully with minimal effort, you’ll be on your way to enjoying this underrated vegetable fresh from your garden in more recipes than you can imagine!
When To Plant Turnips
Turnips grow best in cool weather that remains around 60 degrees, which means spring and fall are ideal times to plant.
Many gardeners plant a crop in both seasons since turnips mature quickly. I like how I can grow plenty of turnips, while still leaving the summer months open for more standard vegetable garden crops like tomatoes and peas.
Spring turnip plantings for greens need to be done as early as possible since longer days will trigger the plants to produce flowers, go to seed, and stop new leaf production.
Plan to stop turnip production when daytime temperatures reach around 70-75 degrees.
Seasonal Taste Differences
Unless you live in a frigid region, planting turnips in the summer months will leave you with a root bulb that has a bad taste and stringy texture since the plant grows poorly in hot conditions.
Turnip growers with experience prefer the taste of crops from the fall harvest, which tends to be sweeter with a more tender texture, especially as nighttime temperatures fall into the 40s.
How Long Do Turnips Take To Grow?
Turnip bulbs planted from seed take about two months to grow to maturity under ideal growing conditions. The bulbs at maturity average around three to four inches in diameter.
I prefer my turnip roots to be between one and two inches in diameter when I harvest them.
I check on bulb growth at five to six weeks, which is about the time most of my turnips are at the size I prefer.
For those who wish to utilize the turnip greens for use in soups and salads, you can begin trimming the leaves at around five weeks. I cut mine when they are between two and four inches in length and add them to my daily salad.
Turnip seedlings germinate in under a week, and I find it very satisfying seeing such rapid growth. I also like that it’s easier to make changes to the turnip spacing, so you don’t crowd the plants which help maintain a healthy crop.
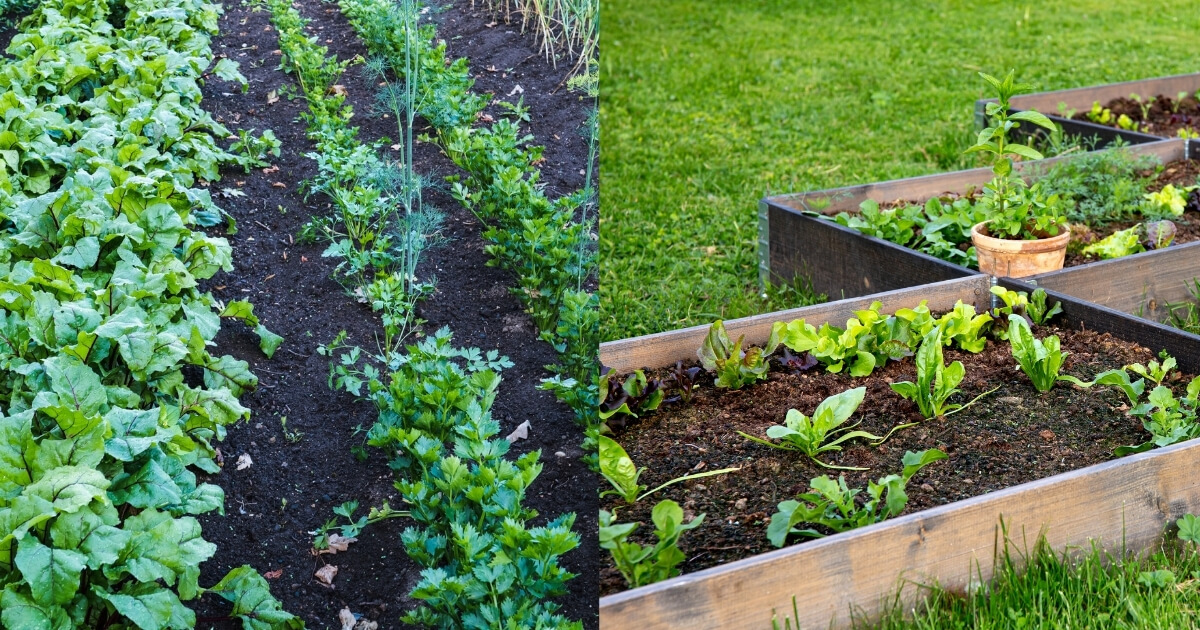
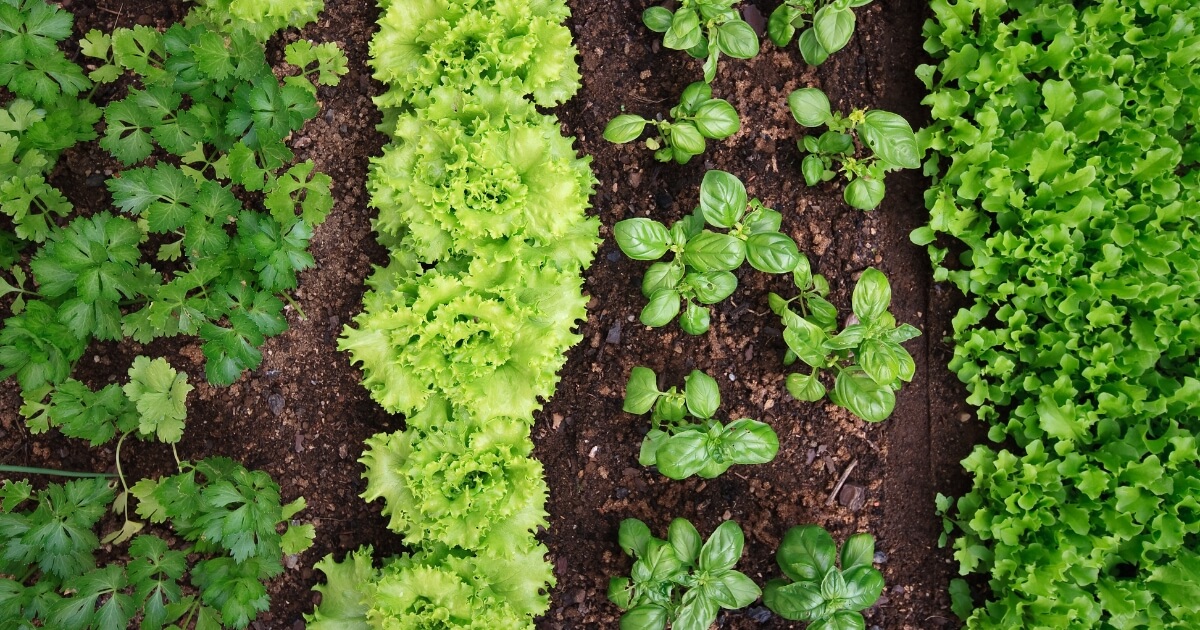
How To Plant Turnips
Turnips can grow from both seeds and the leafy green turnip tops with a high success rate for even a beginning gardener.
Turnips love full sun, so provide for at least 6 hours of sun exposure a day for better results.
Related | Shade Loving Vegetables
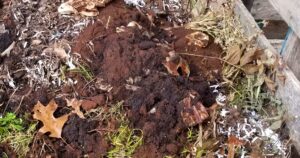
No matter which method you use, prepping your garden soil with compost will increase soil nutrients and eliminate the need to add more fertilizer to your turnip crop while it grows.
Be careful that you don’t add so much compost that you inhibit proper soil drainage since root vegetables will rot under soggy conditions.
Check the pH of your soil, since turnips do better in acidic soil between 6.0 and 6.5 on the pH scale.
For fall plantings, allow 70 days before the first frost, so you can safely harvest your turnips before winter.
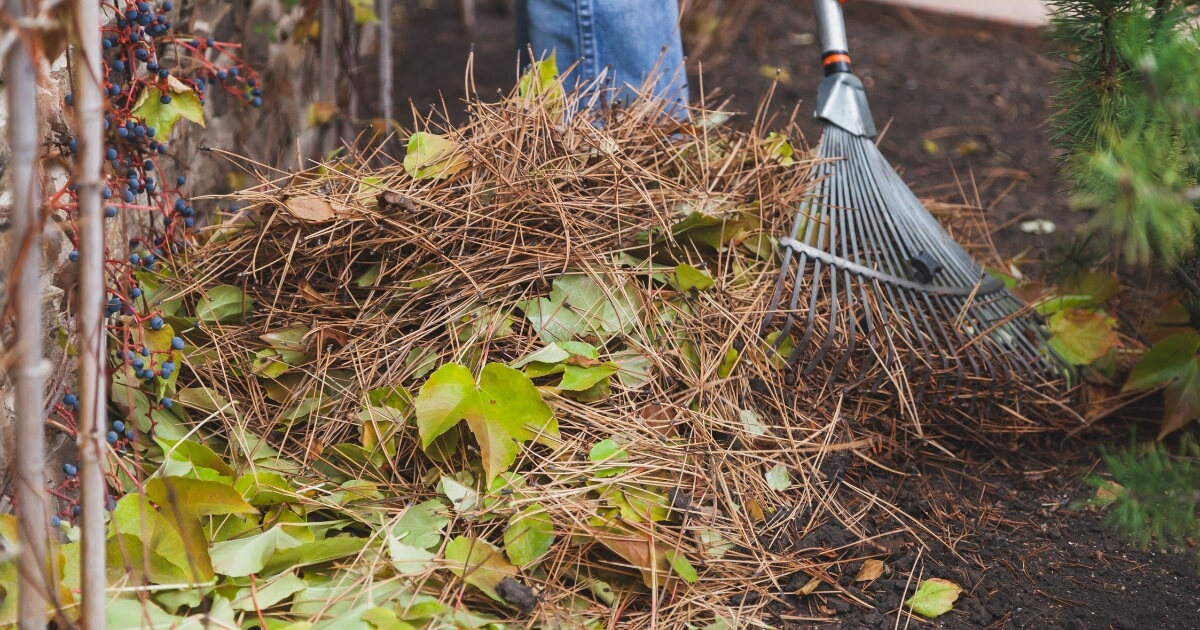
TIP: Turnips, like any other vegetable crop, can have issues with diseases that can hide out in the soil, even over winter. To efficiently control this problem, try to move the location of your turnip crop each year or two.
Now that you know the basics for preparing your garden, I explain the steps necessary to plant turnips by using the leafy tops or by planting directly from seed.
Growing Turnips From Turnip Tops
Turnips that sit in storage may begin to sprout new leaves, and you can recycle these to grow delicious turnip greens instead of tossing them into the garbage or your composting bin.
Sprouting turnip roots have a bitter taste, so don’t try to eat them.
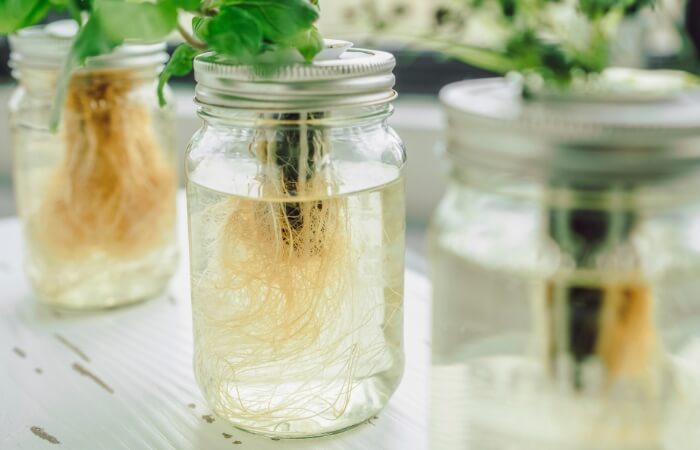
After harvest, you can also place the cut tops of turnips in water, which will grow fresh roots and new green leaves in about a week.
Keep the roots in water until you are ready to transplant into your garden.
Be aware that you will not grow edible bulbs from last seasons sprouting turnips, only greens that you can harvest to eat, and seeds you can use to plant next year’s crop.
Step 1 – Select Your Turnip Tops
Look for sprouting turnip bulbs that feel firm to the touch. Squishy or rotten bulbs will not grow well, so discard them.
To grow turnip tops that produce seeds, you’ll need to plant at least two sprouting turnips near each other so they can flower.
Step 2 – Prepare Your Garden Space
Use a tiller or hoe to loosen the soil down four to eight inches so that the turnip roots can spread out quickly.
Make rows eight inches apart, to allow the heads of your turnips to grow large and leafy without touching each other.
Step 3 – Plant The Turnip Tops
Turnip spacing can make or break a crop. Plant each turnip top at least four inches away from the next.
If your garden is spacious, expand the spacing to six inches apart, since I find turnips appreciate the extra room to grow.
Plant the bulb pointy or cut side down, with the leafy top ever so slightly above the surface of the soil.
If you have turnip top cuttings you set in water, make sure the roots are an inch or two long before planting them in the garden for best results.
Growing Turnips From Seed

Step 1 – Prep Your Garden
Loosen garden soil down four to eight inches, just as you would for planting the turnip tops. Fast-growing turnips do well when they don’t have to fight their way through tough soil as they mature.
For turnip crops from seed, make rows 12-24 inches apart.
Step 2 – Plant The Turnip Seeds
Plant seeds about 1/2-inch deep and 1 inch apart. The final goal is to have at minimum half a dozen turnip plants, which provides for genetic diversity within the crop.
If you plan to grow and store turnips for use year-round, plant as many as you think you’ll need until you harvest your next seasons batch.
TIP: If your growing season stays cold long enough, consider staggering your seed plantings over several weeks. Doing so will enable you to have fresh turnips and greens for a more extended period.
Related | Starting Seeds In Rockwool
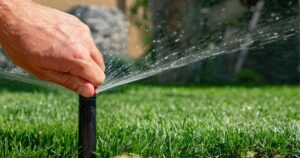
Step 3 – Water The Plants
Turnips need a steady supply of rainfall or watering to stay healthy. An inch or two of water a week will help roots and leaves grow fast.
Don’t overwater, which could keep the ground too wet and rot out the root.
Step 4 – Thin The Plants
When the plants reach between three and four inches tall, thin out the greens, so there is one turnip plant every four inches.
The plants you pull are tender and make an excellent addition to your dinner plate, so don’t let them go to waste. The slightly peppery, spicy taste of turnip greens is delicious!
Harvesting Turnip

Turnip Greens
Harvest turnip greens by snipping off the outer layer of leaves about an inch or two from the top of the bulb, being careful not to cause any damage.
I find trimming leaves when they are four inches or less in length is ideal for tenderness and optimal taste. Avoid letting turnip leaves grow too large, as they become tough to chew without cooking them for a long time.

When growing turnips for greens, consider the amount you wish to harvest each day or week and plant your garden accordingly. Only trim the outer leaves, so the small inner leaves can continue to grow.
The turnip plants will continue to produce fresh leaves as you trim off the outer leaves. Some people cut off the entire leaf top and leave the bulb bare, which causes distress for the root system and can damage the plant.
In many cases, new leaves will reappear within a couple of weeks, but I feel this is a risk to the plant’s health that isn’t necessary.
Store the fresh turnip greens in a container in the refrigerator, where they should last for a week or so.
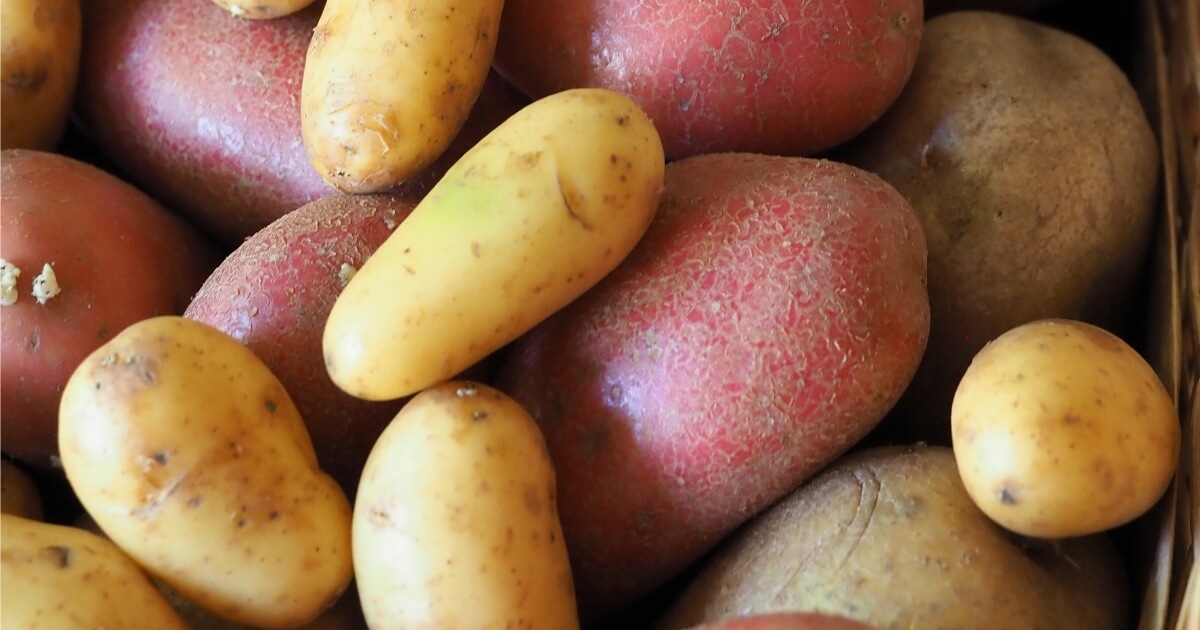
Turnip Bulbs
Harvesting turnip bulbs is one of my favorite things to do. Each plant bulb is a little surprise hidden under the soil.
The bulbs are best to eat when they are between two to three inches in diameter. I start checking the size of my turnip roots at around five or six weeks to gauge the width of the bulb.
Once the root bulbs are the size you desire, pull the bulbs up from the ground by grasping the upper leaf stalks. If bulbs are stubborn or very large, you may need to use a gardening fork to pry them up.
You can wash and prep your turnips right away for cooking, or store them by cutting off most of the leaf stalks and placing them unwashed in a cool, dark space.
You can choose to leave turnips you plant in fall in your garden until you wish to use them since they will stop growing after a couple of months. Just remember to remove all the bulbs before the ground freezes.
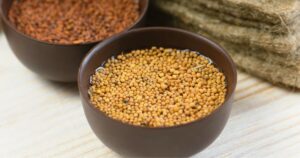
Turnip Seed Harvesting
Turnips are a plant that keeps on giving. I love how I can perpetuate new crops and greens at no cost.
After a couple of months pass, turnip plants will begin transforming. If you leave the turnip plant alone, a stalk will grow that can reach up to three feet tall.
From this stalk, flowers will burst forth, attracting the attention of bees. Once the flowers die back, you will find green seedpods that turn light brown as they ripen.
Once you see the light brown pods start to dry out, pull the pod from the stalk and store them out of the sun. The longer you can let the pods develop on the stem, the better chance the seeds inside will grow into new turnips.
Once you have a collection of dry seed pods, break them open and sort out the seeds from the chaff. Keep the seeds in a jar until your next planting season. Turnip seeds should be good for up to five years.
In Summary
Growing turnips for greens and roots is a great way to extend your vegetable gardening season and expand your culinary tastes.
You can find the perfect variety of turnip greens to suit your taste buds or grow them for the root which makes a great potato substitute.
I hope this guide showcases how easy it is to produce a hearty crop of turnips and greens in your garden year after year!