What is Rockwool, and why are home gardeners turning to it for starting seeds?
I knew very little about Rockwool other than it’s a substrate common in commercial hydroponic growing systems. But after trying Rockwell out, I now know the benefits of using this unusual growing medium for starting seeds at home and want to share this information with you.

In this article, I explain the origins of Rockwool and the advantages of Rockwool versus soil. I also discuss how to care for and transplant Rockwool seedlings, and tips for cloning plants in Rockwool.
Keep reading to understand why with a little practice, many gardeners prefer using Rockwool for starting seeds.
What Is Rockwool
Rockwool ingredients consist of molten basalt rock with a limestone additive. The liquid rock and limestone mixture goes into a machine that spins the material into superfine fibers that are both sterile and inert. One cubic foot of rock makes 37 cubic-feet of Rockwool.
Rockwool, also known as mineral wool or stone wool, came into use in the 1930s as an insulating material during the construction of homes and businesses throughout Europe.
1.5″ Rockwool Starter Plugs | Editor Recommended

Top Features
- Made from molten rock
- Includes Twin Canaries Chart
- Absorbs nutrient solution while retaining oxygen for rapid plant growth
Rockwool is now readily available in convenient shapes likes cubes, blocks, and slabs ideal for any gardener to grow plants from seeds.
Back in the late 1960s, Denmark scientists thought that Rockwool’s stable moisture and aeration levels could work for seedlings in hydroponic growing systems. They began tests to see how plants they grew in Rockwool faired.
The success of these tests has led to further improvements in a Rockwool formulation explicitly made for starting plants in hydroponic growing systems.
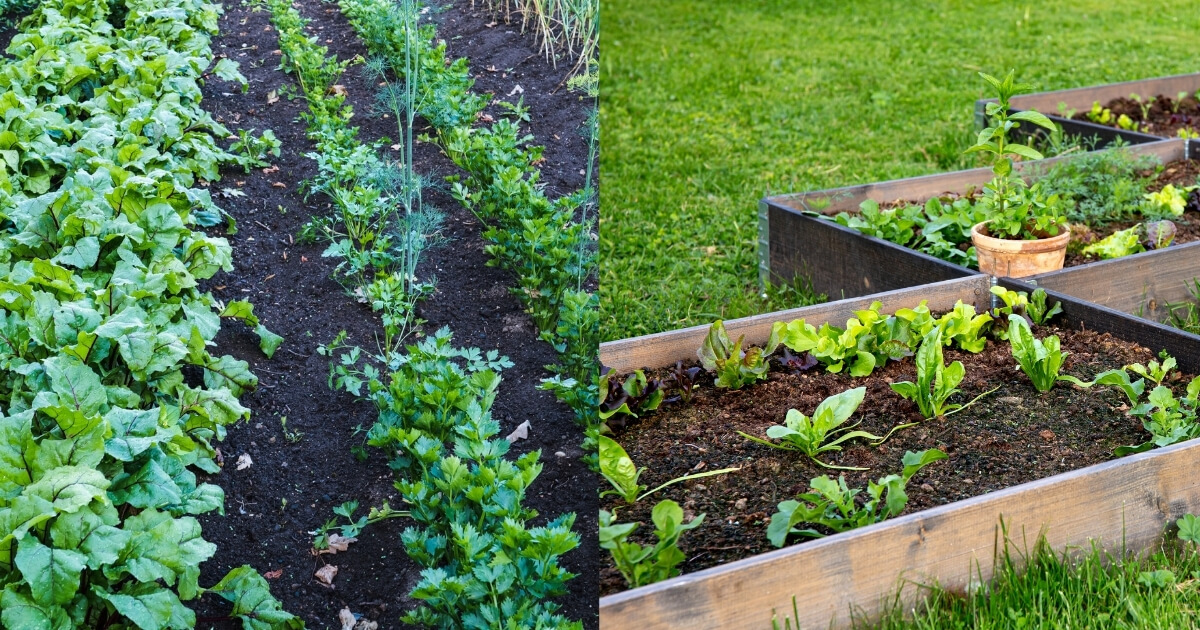
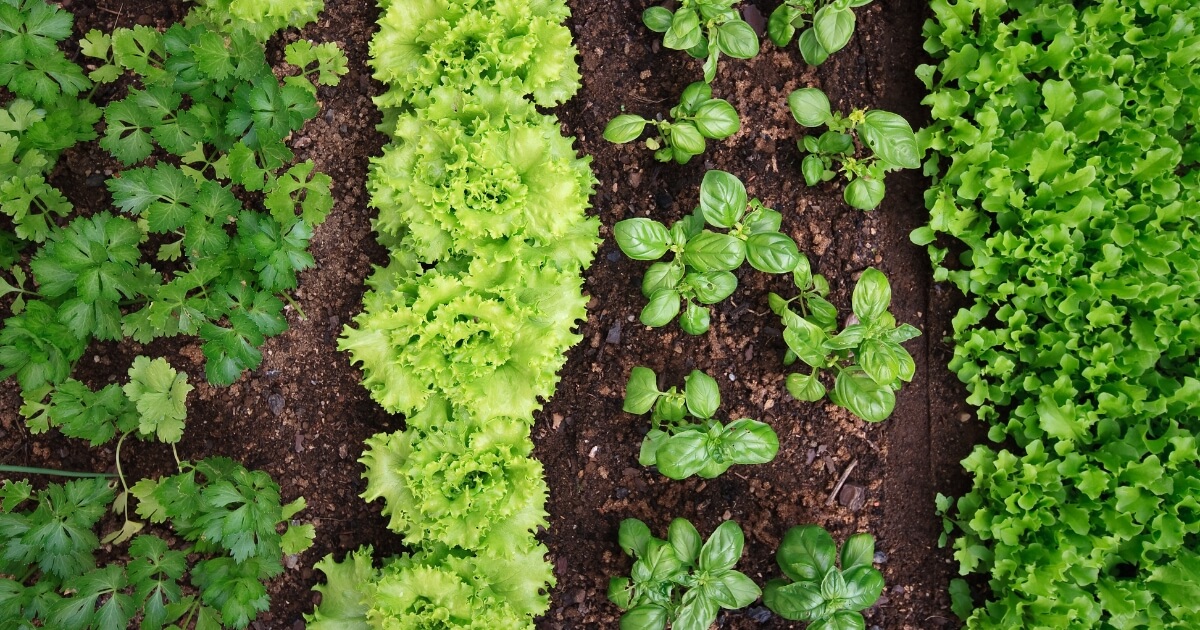
Rockwool VS Soil
For centuries, soil has been the tried-and-true medium for starting seeds. While soil has its benefits, Rockwool offers properties that can improve seedling success rates. Let’s take a look and the pros and cons of Rockwool versus soil.
Rockwool pros:
- Stable retention of air/water
- Reusable through several crops
- Sterile and compostable material
- Convenient to use
- Ideal for hydroponic growing systems
- Easy to monitor/control nutrient levels
Soil pros:
- Easy to use/safe to handle
- Affordable
- Can help buffer excessive use of fertilizer
- Adjustable for texture/moisture/nutrients
Rockwool cons:
- Fibers could irritate eyes, lungs, and skin
- Takes practice to perfect seed germination technique
- Naturally high pH level needs adjustment
- Initial investment costly
Soil cons:
- Hard to regulate nutrient/moisture/aeration levels
- Pests/Diseases/mold thrive in soil
- Messy to handle
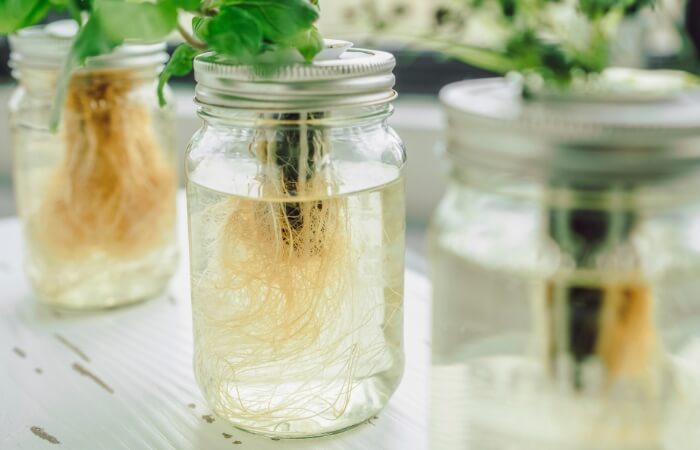
The most significant benefit to Rockwool over potting soil is the ability to grow more in less space. Plants in soil have to expend energy to grow roots long enough to reach the nutrients they need to survive.
Plant roots in Rockwool have instant access to water and nutrients. Therefore, the plant expends its energy on growing taller and stronger, instead of root development.
How To Start Seeds In Rockwool
I use Rockwool for growing vegetable and flower seeds before transplanting them into my garden, but it’s a staple in hydroponic gardening systems.
Here are the steps to start seeds using Rockwool.
- Fill a container with water set at a pH level of 5.5.
- If your Rockwool has a plastic wrap, poke small holes at the base of the cube so excess water can drain.
- Submerge the Rockwool in the water for at least one to two hours so it can fully absorb the liquid.
- Remove and shake the Rockwool to release excess moisture. Don’t squeeze the material, as this compresses the fibers and destroys its natural aeration properties.
- Most Rockwool comes with holes on the top. Set one seed in each opening and gently push it down.
- Place the Rockwool in a tray with good drainage. Investing in Rockwool cube and tray sets takes the guesswork out of this step. Place the tray in a room between 70 to 80-degree Fahrenheit. Use grow lights or set the tray in natural daylight.
- Always keep the Rockwool moist by misting it and placing a plastic dome over the tray.
Related | Best Seedling Trays
How To Care For Seedlings In Rockwool
Rockwool has no natural nutrients for your seedlings. This feature is great for allowing gardeners to precisely dose their plants with the specific nutrients they need for optimal plant growth.
I add fertilizer to my misting water when caring for my seedlings in Rockwool. Since the plants uptake the nutrients easily, I find I don’t need to use as much as I would when I plant my seedlings in soil.
Watching the moisture level in the Rockwool seems daunting at first since you can’t let the material dry out and kill off your seedlings.
The plastic tray dome helps regulate the humidity and temperature levels of the Rockwool. Removing the lid during watering or for a short time during the day allows for beneficial air circulation.
Over time, you learn how the material reacts in your home’s environment. I find my trays need misting every other day, while other people may need to water twice a day.
I keep the dome on until my seedlings are tall enough to push against the lid.
When To Transplant Rockwool Seedlings
When you plant seeds in Rockwool, cut them apart after the first set of leaves fully open. You can transplant these seedlings, while still inside the Rockwool medium, into individual pots you fill with standard potting soil.
You also know it’s time to transplant Rockwool seedlings when the root system begins to bust out of the starter block.
You can transplant these blocks directly into your garden if outdoor weather conditions permit or place them in containers with soil until the season is ready.
You also can place the seedling into a larger block of Rockwool to continue growing the plant hydroponically. Cut a hole the size of your seedling block into a four-inch Rockwool block and place the seedling inside. It’s that simple!
I find my seedlings fair best when I grow them one more time through a four-inch Rockwool block. I then transplant them directly into my garden.
Rockwool Cloning Tips
Cloning plants works fantastic in Rockwool. Here are some tips to help make the cloning process more successful.
Preparation
Disinfect your tray and prepare a room where the temperature can stay around 75-degrees with about 50-percent humidity. Make sure you have a barrier, like a sheet of cardboard between the tray and table surface to keep any cold surface from harming the clone rooting process.
For best results, set a T5 24-watt grow light an inch or two above your tray (with the dome on).
Soak your Rockwool cubes as you would for normal seed germination, remove excess water, and set them in the tray.
Gather clone cuttings
Cut clones from new growth. These can be suckers growing from the plant’s base or stems near the top of the plant. Cut the clone at the stalk snipping it at a 45° angle. Remove all leaves but the top two, which promotes new root growth.
Dip the cut end into a rooting hormone powder.
Condensation and venting
After you push the clone stems into the Rockwool put the dome on the tray. Keep the vents closed to create condensation inside the tray by pulling the moisture slowly from the Rockwool. This process triggers the clone to start growing roots as the plant tries to locate water.
Remove the lid daily to shake off excess moisture and allow air circulation. If you don’t see condensation, your tray is either too cold or set in direct sunlight which can evaporate the liquid. Move the tray to a better location before the clones wither.
Once you see roots growing through the bottom of the Rockwool, open the vents on the dome, making them larger each day. After the vents are fully open, remove the cover a couple of hours each day. Extend the removal period until the cover is always off.
At this point, you can transplant the clones as they now should be healthy and have active root development.
In Summary
Once you get comfortable using Rockwool as a growing medium, you’ll find it to be a pretty forgiving substrate. I like how the material allows plants to grow strong and fast by delivering water and nutrients directly to plant roots without much fuss.
While great for full-hydroponic home gardening systems, Rockwool is beneficial for growers like me who use it to start seeds for transplant into outdoor gardens.
I hope you find this guide to starting seeds using Rockwool to be helpful. Consider experimenting with Rockwool versus soil in your next seedling crop and see if you too become a Rockwool convert!