Are you excited for gardening season but wondering if you should soak seeds before planting for faster germination?
Seed soaking is a tried-and-true gardening method, but many seeds grow fine without doing so. However, by soaking seeds, you can watch your garden sprout sooner or use it as a tool to control your planting schedule.

Getting the growing season off to the best start is the goal of every gardener, so let’s dig in and learn how to soak seeds the right way!
Advantages Of Soaking Seeds
Here are the reasons gardeners pre-soak seeds before planting:
Softening Of The Shell
The main advantage of soaking seeds before planting is that it softens up the hard outer casing. The permeable shell slowly swells with moisture and often will rupture open.
By having the seed’s outer shell gently open and very soft from soaking, the embryo can sprout roots and shoots without undue stress. With less strain pushing off the seed casing, the plant can instead put all its energy toward healthy growth.
Triggers Genetic Growth Response
The moisture will also trigger the plant’s germination process to begin so the embryo can turn into a plant.
Removes Natural Plant Chemicals
Another benefit of soaking seeds is to remove the natural chemicals some seeds form to protect against premature germination. Exposure to moisture will lower these inhibitor chemical levels enough to allow for germination to begin.
Gives Gardeners More Crop Control
The benefit for gardeners is that taking time to prep seeds by soaking allows you to have better control over when your seeds will germinate, so you can time seedling growth to coincide with outdoor transplanting weather.
After soaking, seeds will germinate a few days faster, which is another time-saving benefit, especially if you’re eager to give your vegetable garden extra time to reach full maturity and a more robust harvest.
Disadvantages Of Soaking Seeds
The biggest cons of soaking seeds include:
Time
Some gardeners don’t have the time to soak seeds before planting and find it easier to get them in the ground and wait longer for growth to begin.
Some seeds have a very tough outer casing and also require going through a scarification process to increase the speed of germination.
Seed scarification can be a tedious and time-consuming chore, which requires growers to weaken or put a small crack into each seed casing instead of waiting weeks for mother nature to take care of it once the seed is in the soil.
Paying Attention
If you aren’t paying close attention to the state of your seeds, it’s easy to forget about them and allow them to oversaturate with water.
Seeds that spend too much time being wet will swell up too much and turn to mush or, if left in damp condition, will begin to ferment or grow mold which ruins their chances of successful germination, wasting your seeds.
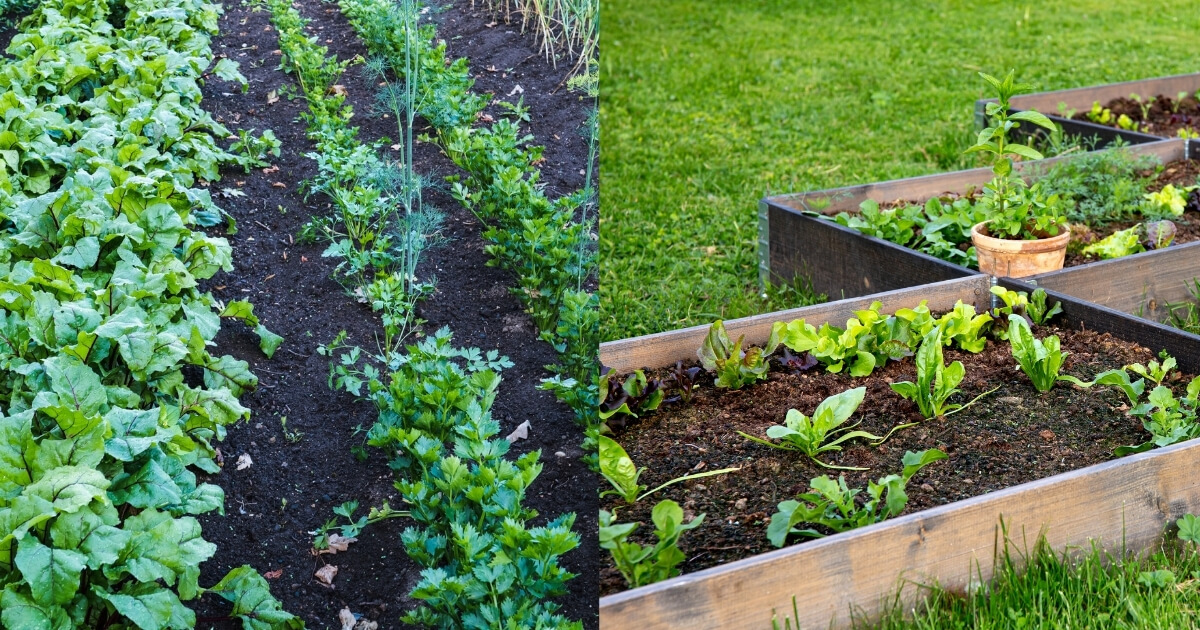
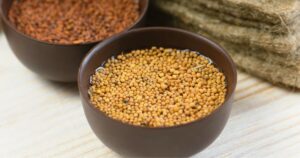
Seeds That Benefit From Soaking
The seeds that gain an advantage through soaking have a thicker shell, have natural growth inhibitors, or are older and very dry.
Here are the varieties of plant seeds you should always soak before planting:
- Beans
- Corn
- Pumpkin
- Squash
- Cucumber
- Peas
- Beets
- Chard
- Cilantro
For the most part, all seeds can benefit from a water bath before planting if you desire to increase germination speed.
It’s less work to pre-soak seeds before planting than to worry about soaking the soil after they are in the ground. It may take days of rain or regular watering for seeds in the soil to have enough continuous moisture exposure to spur sprouting.
For the plant varieties in the list above, letting seeds go without soaking may add a week or more to your gardening schedule.
When you’re in a region with a short growing window, every day counts, and you can’t afford to lose precious time waiting for seeds to sprout naturally.
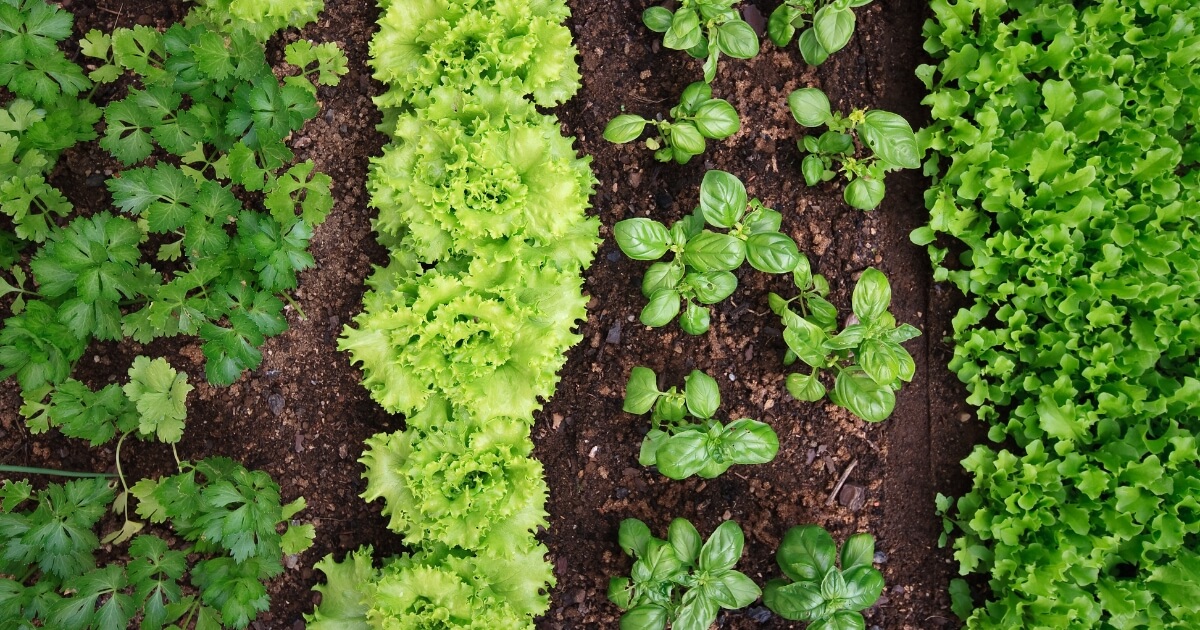
Seeds That Don’t Need To Be Soaked
Some seeds don’t require soaking.
The first group of seeds is those that are fresh, coming straight out of ripe fruits or vegetables. The seed shells are already damp, so the process of adding more moisture can ruin them.
The second group is very small seeds. Tiny seeds are hard to manage anyway, but it makes them nearly impossible to separate for sowing when they are wet.
It’s also tough to see how much moisture tiny seeds have absorbed, so it’s easy to oversaturate them.
Here are the top varieties of seed you shouldn’t soak:
- Celery
- Lettuce
- Spinach
- Turnips
- Carrots
- Radish
How Long To Soak Seeds Before Planting
The soaking time for seeds can take anywhere from 3-48 hours. Rarely will any seed need more than 12 hours of soaking before it’s ready to plant.
The key to knowing how long to soak seeds is by a visual inspection. Set one sample of the dry seed aside and use it for comparison to the seeds you soak.
The healthiest seeds will sink while less viable seeds float. You can skim off any floaters after the first hour if you want to increase overall germination rates.
You know seeds are done soaking when they double in size.
Warm water will increase the speed seeds absorb moisture if you need to hurry the process along.
The quickness that a seed absorbs water varies, which is why checking on the progress every hour or two is crucial.
How To Soak Seeds
Before soaking any seeds, make sure the weather is safe for planting, as you’ll need to get them into the soil within a day.
Follow these steps to soak both hard and soft or small seeds:
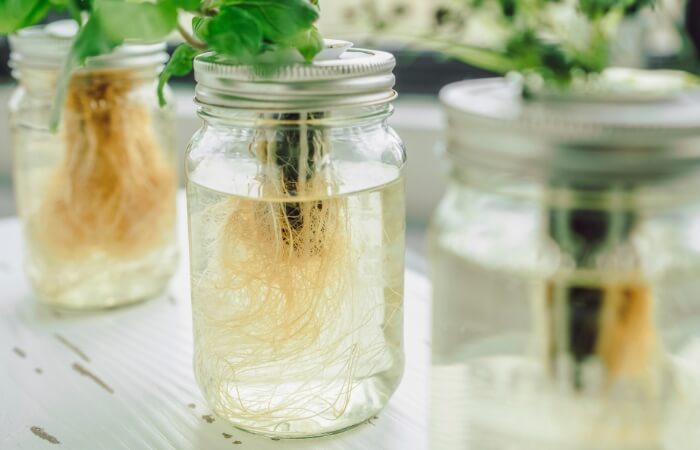
Step 1 – Fill A Jar Or Bowl With Warm Water
Add warm, not hot, water to your container filling it to about 2/3 full.
Step 2 – Add Your Hard-Shell Seeds
Pour in your seeds. Don’t mix seed varieties, as each type will require different soaking times.
For smaller seeds, place them inside a coffee filter or on a piece of tightly woven cloth before placing them inside the bowl so they are easier to manage.
You can also slowly strain the soaking liquid through a coffee filter to corral small seeds after the process is complete.
Step 3 – Wait An Hour And Skim Floaters
After one hour, remove any seeds that are floating on the surface.
While some of the floating seeds will germinate, the chances of producing flowers or fruit are low and rarely worth the effort of growing.
Step 4 – Check On The Seeds Often
Place seeds in a convenient location, like on your kitchen counter, so you can check on them every hour or so.
Don’t worry about the water cooling down to room temperature. There’s no need to rewarm it.
Scoop out a seed and compare it to your dry sample. Once the seeds in the water double in size from your sample, they’re ready.
Step 5 – Remove And Plant The Seeds
Once seeds absorb the peak amount of moisture, strain them out from the water.
Plant them immediately into pots or your garden.
If you have very tough seeds, like those from palm trees and some fruits, you can scarify the seeds before or after soaking.
You can scarify by using a sharp knife to cut off part of the seed tip where the shoot will sprout, or you can cut a small gash or hole in the shell.
You can also push down on the seeds with a firm object to gently split the casing open or run them over sandpaper.