Potato grow bags are gaining in popularity, but where can you learn how to grow potatoes in a bag if you’ve never done so before?
The answer is right here! I put together this guide to explain the steps to grow potatoes in bags and answer frequently asked questions about the process.

In one short read, you’ll be on your way to harvesting your first successful crop of potatoes from the affordable and convenient grow bag method!
How To Grow Potatoes In Bags
Follow these steps to begin your potato crop using grow bags:
Step 1 – Select The Right Size Grow Bags
I suggest using a minimum size of 10-gallon grow bags for potatoes, but find that the 15-gallon or even 20-gallon bags allow for more tuber production without being too heavy to move if necessary.
I prefer using grow bags with access flaps, but larger-capacity bags tend to eliminate this feature due to the stress of soil weight.
If you plan to grow a lot of potatoes, consider using very large grow bags that you plant from start to finish in a single location that provides plenty of sunlight.
Step 2 – Fill The Bottom Of The Bag With Soil
You need to start your potato seeds in only a few inches of gardening soil at the bottom of the bag. A rich soil and low-nitrogen fertilizer is best because it keeps the soil loose, which encourages root spread.
Some people like to roll the edges of their bags down to make tending to the potatoes easier at this stage. As they fill the bag, they unroll the material.
If your bag allows this, it’s a good idea since it allows more sunlight and heat to reach the soil surface, which encourages sprouting.
Step 3 – Plant The Seed Potatoes
Lay in your seed potatoes and add more soil to cover the tops of the seeds by about three inches, making sure no surface areas have exposure to sunlight.
Any type of direct light on potato tubers will cause sunburn or greening. Water enough to keep the soil moist. Place your planted grow bags in a full-sun location.
TIP: Do not overplant your grow bag! For a 10-gallon bag, only plant three seeds, add four or five to a 15-gallon bag, and five to seven to a 20-gallon bag. The larger the bag, the more you can add, but be aware that potatoes that feel crowded during growth will naturally produce fewer tubers.
Step 4 – Layer Your Bag During Sprouting
Once you see sprouts rising through the soil, cover them with a few more inches of soil and keep that soil moist. As you follow this process, you are slowly filling up the grow bag and allowing more tuber production to build for harvest time.
You don’t need to add a thick of a layer of dirt over the new sprouts, keep it to around three or four inches at most. Keep layering in this manner until you reach the top of the bag.
Step 5 – Allow The Potato Plants To Flower And Die Back
Once your plants grow through the soil at the top of the bag, cover the base with mulch, which helps retain moisture and protects growing tubers from sunlight.
Keep watering and tending to your potato plants until they flower and naturally begin to die back. Remove any dead foliage to reduce pest or disease issues.
Stop watering the grow bags at this stage to prevent the tubers from rotting out before harvest.
Step 6 – Rest Your Crop
Once potato foliage has completely died back, don’t rush in to harvest them. It’s smart to allow potatoes to rest in the bag for another two weeks, as long as the soil stays dry. Leaving the tubers in the soil will allow their delicate and thin outer skin to toughen up.
Letting the skins thicken will reduce damage during harvesting and storage, so your crop lasts longer.
If your bags are heavy and you cannot move them, protect them from rain to prevent the tubers from rotting out in wet soil.
Step 7 – Harvest Your Crop
Now you can harvest your potato crop by gently dumping the soil from the bag. I like to reuse my soil in other areas of the garden, so I do this directly into a wheelbarrow.
Sift through the soil to remove the tubers and let the tubers dry out in a cool, dark, dry location before storage.
If your grow bag offers an access panel, you can harvest your tubers at the root level by reaching in a feeling around for the potatoes.
Once done, reuse the dirt to grow flowers or mix it into your garden soil. Never reuse the soil for another batch of potatoes since this increases the risk of the new crop having a disease or pest problem.
Potato Grow Bag FAQs
Do Potato Bags Work?
Yes, potato bags work well to produce healthy foliage and root system that creates tasty tubers.
You need to ensure you are providing the correct amount of sunlight and water to your bags during the growing season since a potato’s needs change from initial growth stages through flowering and tuber production.
As with traditional potato crops in a garden plot, you also need to watch for pests or diseases. I find that these issues seem less of a problem when I use grow bags for my potatoes.
I especially find it helpful when I plant the potatoes in bags with flaps that allow me to peek in to check on root development and health without digging into the soil and disturbing the roots.
How Many Potatoes Can You Grow In A Potato Bag?
The number of potato plants you can put inside a grow bag and the amount of produce they yield will determine how many potatoes you can grow in a bag.
A great rule is to plant seed potatoes at least six inches apart to encourage fatter and more abundant tuber production. A 10-gallon bag can fit two to three plants comfortably.
The next factor is that each plant should produce between five to ten edible tubers. So one 10-gallon bag could, in theory, yield 15-30 potatoes.
Even under the best care and weather conditions, it does seem that most potatoes you harvest from bags 30-gallon or less in size are smaller than a similar plant grown in the ground.
Why this happens could be the plant sensing the restriction of growth due to the roots being inside a container, so they naturally limit tuber size. This automatic reaction from the potato plant is why you mustn’t crowd too many plants into a grow bag.
If you’re looking to increase your potato yield, plant more bags, or use more substantial bag sizes.
How Long Does It Take To Grow Potatoes In A Bag?
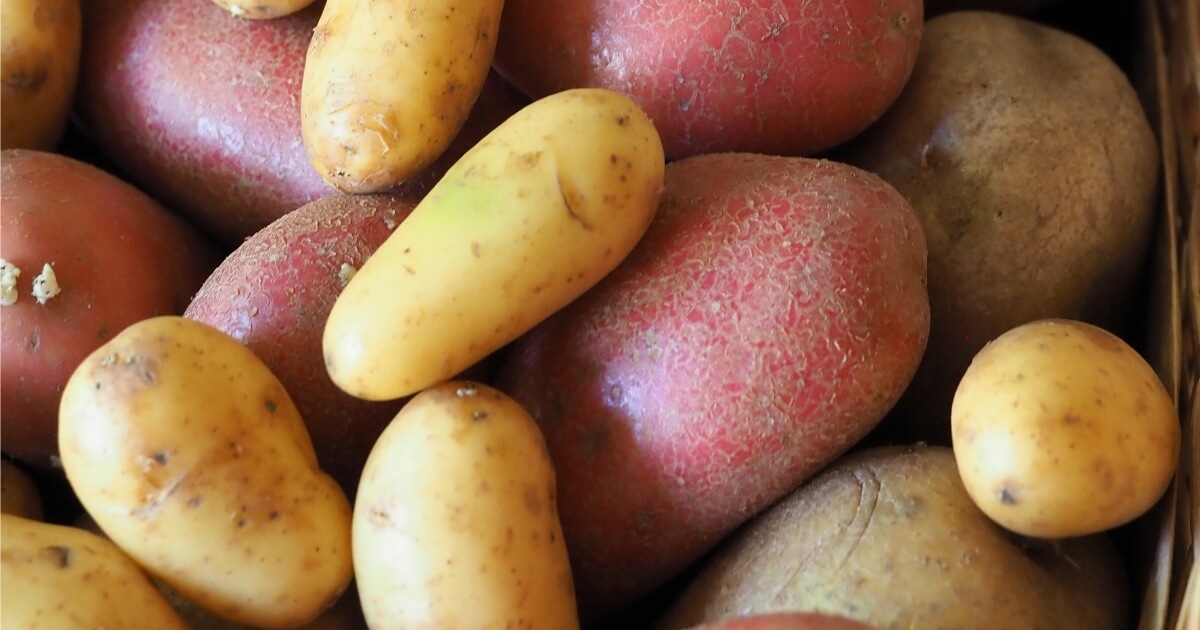
Growing potatoes in a garden plot or in a grow bag will take the same amount of time to grow. Here are common varieties of potato and how long they take to grow from seed to harvest:
Early Varieties – 90 days or less
- Irish Cobbler
- King Harry
- Caribe
Mid-Season Varieties – around 100 days
- Yukon Gold
- Kennebec
- French Fingerling
Late-Season Varieties – 110 days or more
- Canela Russet
- Russet Burbank
- German Butterball
The real bonus of using smaller, more portable grow bags is the ability to start your potatoes earlier inside a garage or greenhouse and move them outside as soon the weather permits. This allows you to harvest your crops sooner and helps avoid the harsh summer heat or the frosts of winter.
Can You Grow Potatoes From A Store Bought Potato?
Sure, you can grow potatoes from store-bought produce, but it’s not wise.
Why? Because potatoes sold in stores are treated with a sprout-inhibitor to keep them from growing, they can remain in storage longer.
We all have come across that forgotten potato that has burst forth with sprouts, but if you plant that potato in the ground (or grow bag), expect the treated potato to produce very few and very tiny tubers.
Your crop also has a much higher chance of spreading harmful pathogens clinging to the potato from the soil it grew in initially.
Always choose actual “seed potatoes” as they are never treated with sprouting inhibitors and should be certified disease-free, increasing crop yield.
In Summary
Potato grow bags help you avoid all the digging, mulching, and hilling associated with traditional potato farming. Grow bags are also perfect for gardening when you live in places where space is limited.
When you combine affordable grow bags with the above steps on how to grow potatoes in a bag, you’ll be on your way to harvesting a delicious potato crop in no time!