When you need a quick and inexpensive weed barrier, cardboard is a great solution.
To learn how to use cardboard for weed prevention correctly, keep reading!

Inside, I explain the pros and cons of using cardboard, the best locations to place it, what you need, and the steps you should follow to use it in your garden for optimal results.
By the end, you’ll know how to recycle cardboard to reduce weed growth around your home safely.
Pros And Cons Of Using Cardboard
I use cardboard for weed control in certain areas of my yard, so I can attest there are positive and negative things to consider before putting it to use.
Pros
- Free and abundant
- Simple to install/lightweight
- Can cover large areas at once
- Water penetrates
- Blocks sunlight
- Decays without leaving behind harmful chemicals
- Attracts worms
Cons
- Must be sure to remove staples and tape from cardboard before use
- Biodegrades quickly, so it will need replacement every year or two
- Birds or animals may dig through the cardboard searching for worms or insects
- Can look unattractive
Once you understand the benefits and limitations of using cardboard as a weed barrier, you will learn the right places to incorporate the material into your landscaping.
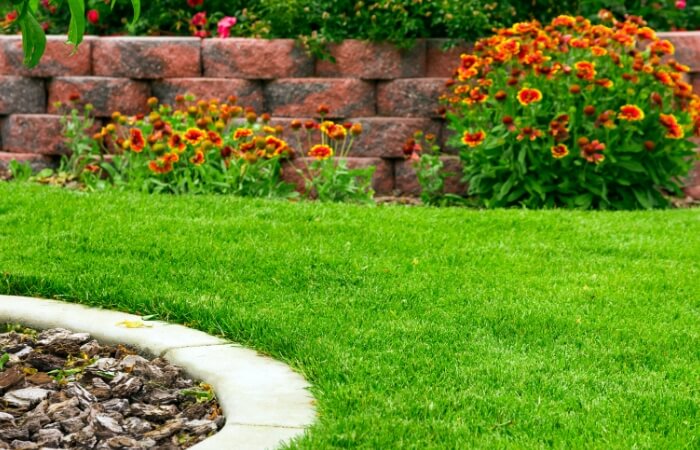
Under Mulch or Under Rocks?
I find the best way to use cardboard for weed control is to use material on top to keep it from blowing away, and mulch and rocks work great when you follow these tips.
Using Cardboard Under Mulch
Laying cardboard down before you mulch your planters is a fantastic way to deal with pesky areas of weeds or grass that ruin an otherwise clean look.
You can cover the soil entirely or just spot treat problem areas.
Lightweight mulch like coffee hulls or pine straw will not hold the cardboard in place in strong winds, so keep this in mind if this is your mulch material of choice.
Using Cardboard Under Rocks
When it comes to long-term weed prevention under rocks, cardboard may or may not be the right solution.
If you plan to spread out a standard three-inch layer of rock, it’s better to use a piece of landscaping fabric that won’t biodegrade and let weeds push up between the rocks.
ECOgardener Premium Pro Garden Weed Barrier Landscape Fabric | Editor Recommended

Top Features
- Easy to install and setup
- Eco-friendly
On the other hand, if you plan to spread a deep layer of stone, using cardboard is cost-effective.
I suggest laying down at least two layers, if not three, of cardboard under four to six inches of rock or gravel. Boxes from appliances are ideal for this type of application.
The depth of the stones will prevent sunlight from reaching the soil even after the cardboard disintegrates, so weeds can’t grow.
What You Need
The supplies you need to use cardboard as a weed barrier are:
- Brown cardboard boxes
- Utility knife
- Hose/water
- Topping material
- Optional: Ground stakes and hammer
Luckily, it’s easy to find enough cardboard to use for weed control. Collect boxes during the year or ask your neighbors.
It’s easier to use a utility knife to cut cardboard to the size you need instead of trying to tear the material.
If you aren’t using a cover material, it’s smart to pound in some ground stakes around the perimeter to stop the cardboard from blowing off.
How To Use Cardboard As A Weed Barrier
Follow these simple steps to stop bothersome weeds from growing in your planter beds or garden.
Step 1 – Prep The Area
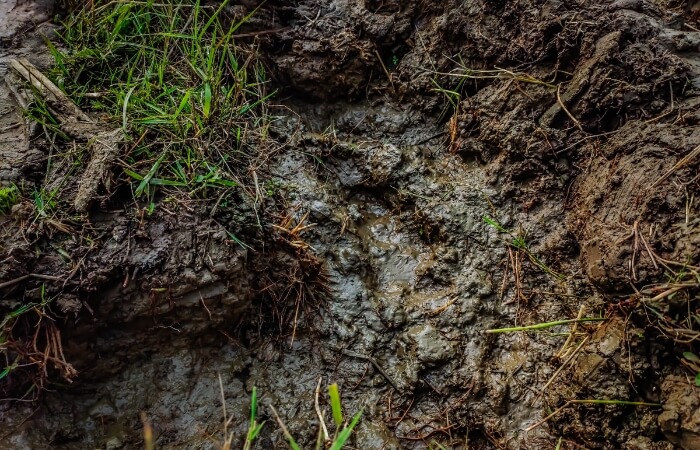
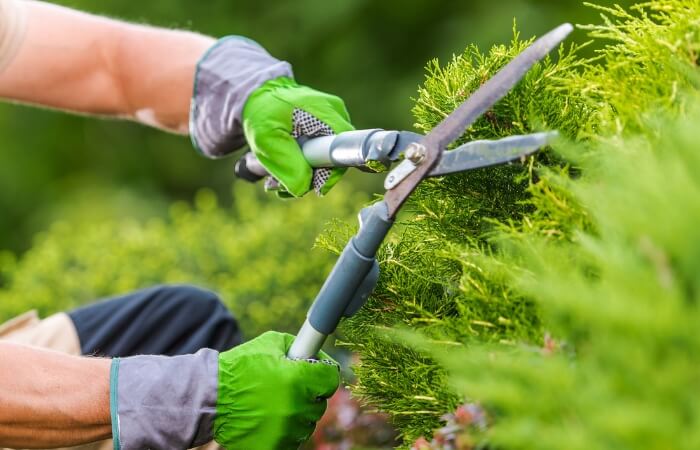
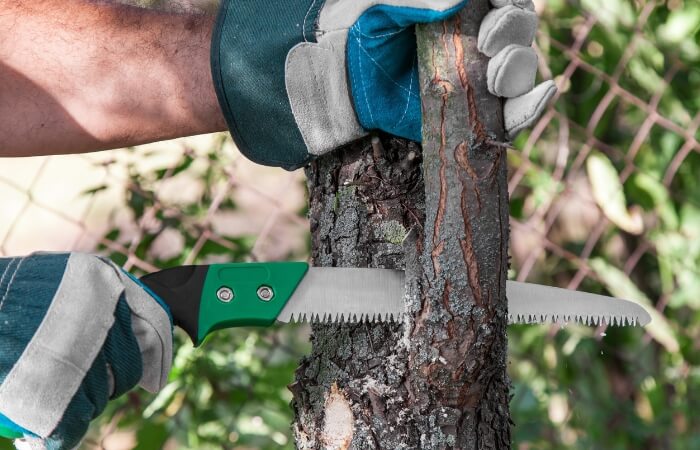
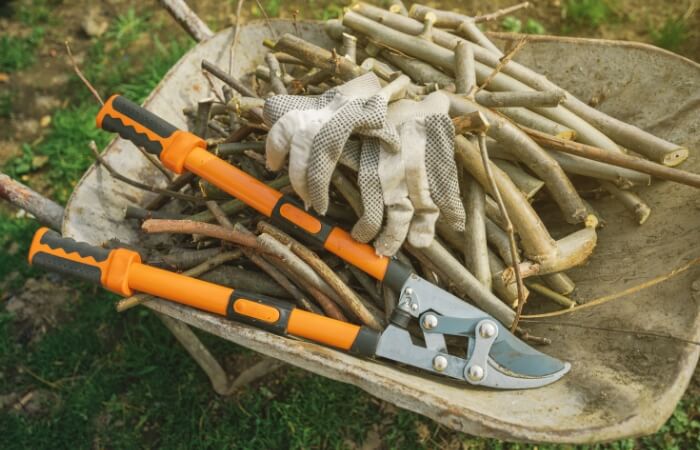
Prune any plant branches or stems in the area you plan to use the cardboard and rake away any thick piles of leaves or debris.
Trim down long weeds or grasses as short as possible and remove any rocks so that the cardboard will lay flat on the soil.
Measure out the area and select pieces of cardboard that will fully cover the space where you want to prevent weed growth.
Step 2 – Prep The Cardboard
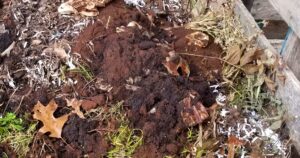
Go over all the cardboard and remove all tape, staples, or strapping.
Avoid using boxes that have a lot of ink printing since these chemicals will eventually leach into the soil and pose a problem to your plants’ health.
Use a utility knife to cut boxes along the seams into flat sections — cut pieces to fit the size of the area you are covering.
Step 3 – Lay The Cardboard
Begin on one end and start laying your cardboard over the surface of the soil. Make sure you overlap each piece by several inches to keep weeds from growing between cracks.
Use a utility knife to cut openings around the stems or trunks of plants and trees, making sure you leave around two to three inches of space around the base, so water and air can penetrate the soil.
If you want a longer-lasting weed barrier, go over the entire area with a second layer of cardboard.
Step 4 – Secure The Cardboard
You can use a hammer to pound in garden staples or stakes to keep the cardboard exactly where you want it.
Using stakes is a great way to kill off areas of grass with cardboard, then be able to remove them when you’re ready to repurpose the space.
You can layer on wood mulch or gravel to keep the cardboard in place. Gravel or rocks will hold the cardboard in place, even during high winds, as long as you secure the edges down.
Wood mulch requires about four inches to weigh down the cardboard. A thin layer quickly moves after a rainstorm or in heavy winds, exposing the cardboard underneath, which can look shabby.
You can also layer soil and new plants over the cardboard.
In some areas, many people choose to lay down two or more layers of cardboard and then top it with more soil and plants.
This method is also perfect for creating a surface barrier when you install raised planter beds since it allows you to quickly fill the bed without the need to remove any weeds or grass underneath.
Step 5 – Maintain The Area
From my experience, it’s best to wet the entire area after you lay down mulch or rocks.
The water softens up the cardboard and allows everything to settle into place, which helps keep the material secure and deters animals from digging.
Keep an eye on the area and reapply the cardboard barrier when you notice new weed growth as the cardboard deteriorates.
I find that I need to redo my weed barriers about every two years, which is about the same time I need to refresh my wood mulch anyway.
WARNING: Termites will feed on cardboard just as they do on wood or other cellulose products. If termites are a concern, make sure you don’t use cardboard or wood mulch as a weed barrier around the perimeter of your home’s foundation.
In Summary
Using cardboard as a weed barrier is fast, free, and easy when you know how to do it right.
With the correct installation method, you can use cardboard to deter weed growth for years, which means you’ll spend more time enjoying relaxing outdoor activities.
I hope by using this guide, you too can create a beautiful garden landscape that requires less maintenance and won’t break your budget!