Is a rototiller on your gardening wish list?
If so, it’s essential to understand the role rototilling can play when completing tasks around the home and garden.

This guide quickly explains:
- How rototilling works
- When to use a rototiller
- When you should NOT use a rototiller
- Rototilling prep
- Rototilling a garden or lawn
- How to rototill in hard soil
Once you understand the basics of rototilling, you can use one with confidence and save yourself hours of backbreaking soil preparation work!
What Is Rototilling?
Rototilling is the process of operating a powerful machine that utilizes spinning metal tines to cultivate the soil.

Most rototillers for home use have a set of wheels that are either in front or behind the tines so that you can push them across the area you wish to cultivate.
You operate the machine by holding the handles to control its speed and direction, while gas engines or electric motors power the spin of the rototiller tines.
Related | Difference Between Cultivator And Tiller
The rotation of the tines helps move the rototiller forward, which reduces the physical strain of running the machine.
Rototillers eliminate hours of manual hoeing or digging to turn over garden soil in preparation for planting. The machine is also a fast way to tear up new weed growth and incorporate the material back into the ground.
Rototillers are also handy when it comes to cutting through lawn turf when you want to expand a garden plot, install new decorative planters, or expand walkways.
When To Use A Rototiller
It’s best to use a rototiller is during the spring and fall when soil conditions are fairly dry.
In The Garden
Since most people use a rototiller for gardening projects, the timing of rototiller use coincides with prepping the soil for new crops.
Rototilling breaks up large dirt clumps, chops up short weed or plant growth, and aerates the soil so vegetable or flower roots can spread quickly.
When you need to incorporate fertilizers or compost into your garden, rototilling is a quick way to work the material into the soil evenly.
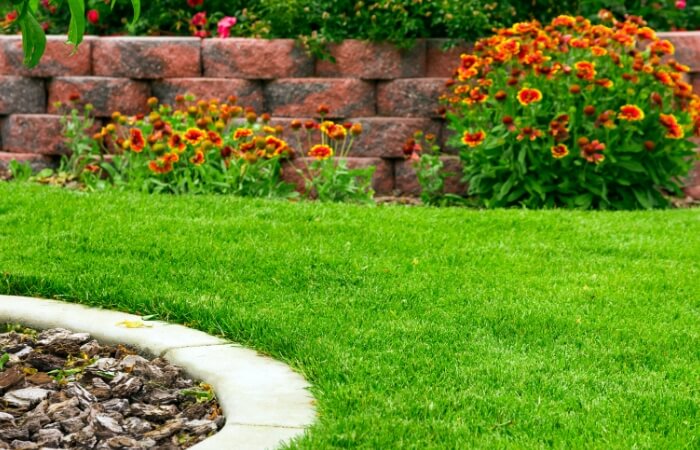
Landscaping Projects
Rototillers work well to tear out grassy areas on your property where you would like to keep the underlying soil firm and intact.
Removing only the grass allows you to lay down a brick or gravel walkway, set in new planter beds, or expand a cement patio without fear the ground will become uneven.
By controlling the depth of the tine penetration, you can “skim” the machine over the surface to remove only the grass and roots.
Related | Disc Harrow vs Tiller
Space Considerations
I find it’s best to bring out the rototiller for cultivating larger areas since most machines can be bulky and hard to maneuver in confined spaces.
There are a wide variety of sizes and styles of rototillers available, so if you do have space restrictions, look for a compact version.
When Not To Use A Rototiller
It’s smart to avoid using a rototiller when:
- The ground is too wet or dry
- The area has tall weed or plant growth
- Gardening without adding compost
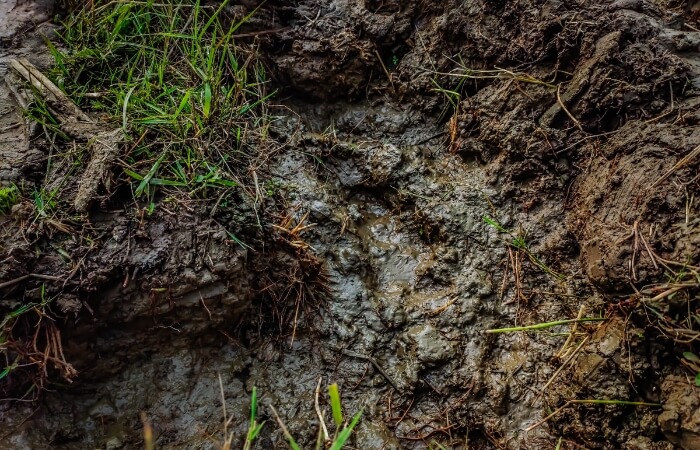
Wet Or Dry Soil
Rototilling both wet and overly dry soil create problems you could avoid by just waiting for a few days to let the sunshine, rain, or hose adjust the moisture levels.
Related | Best Soil Moisture Meters
Using the rototiller on soil that is too soggy will leave in its wake large, heavy clods of dirt that will dry into hard, compacted clumps useless for planting or for creating a flat surface.
Rototilling soil that is too dry will kick up a lot of messy dust. The tines of the machine will push clumps of dried dirt to the side instead of breaking them apart, and the tough ground adds undue stress to the rototiller’s engine and blades.
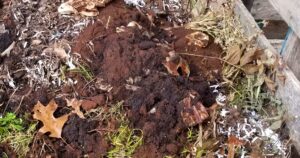
► Pro Tip: Test for correct moisture level in the soil before wasting your time rototilling under poor conditions.

- Dig down four-to-six inches in the area you wish to rototill.
- Grab a fistful of dirt from the bottom of the hole and squeeze it firmly.
- Release your grip and check the consistency of the earth.
- If the soil immediately falls apart, it’s too dry to till.
- If the soil forms a solid mass, poke it with your finger. If the earth breaks apart easily, you are ready to rototill.
- If the soil ball remains intact, the soil must dry out more before tilling.
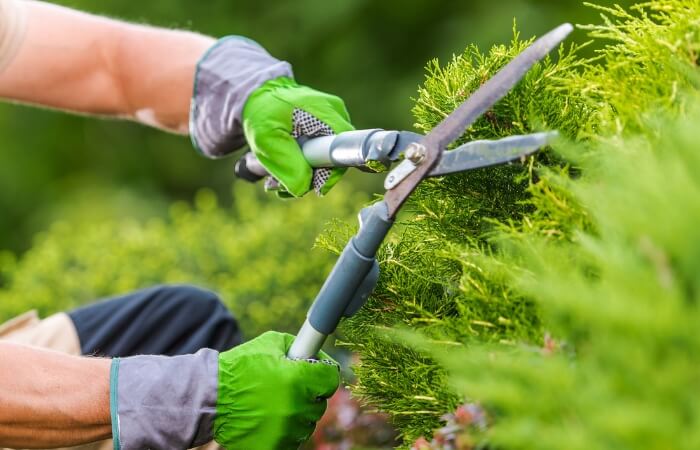
Overgrown Areas
Always weed-eat or mow and area you plan to rototill if high plant growth is present.
The spinning tines of a rototiller will quickly snag and twist long plant fibers around the shaft. This issue will lead to frustrating breaks in the job to clear the debris so the tines can work without interference.
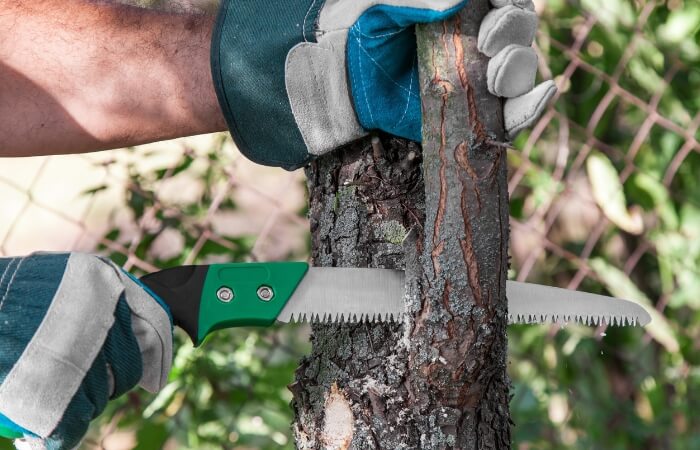
Related | Best Way To Clear Brush
Garden Soil You Do Not Amend
Continually rototilling garden soil will cause compaction as the soil structure becomes finer.
Over time, this type of soil could reduce crop production since nutrient levels decrease, and root development becomes more difficult.
If you do not plan to rototill compost and fertilizers into your garden soil, it’s better to work the land with different types of garden hoes or spade to keep soil compaction to a minimum.
Preparation: Before You Start
Once you are ready to rototill, you need to prepare yourself to operate the machine safely.
The tines of a rototiller are sharp, and the spinning motion can pull loose clothing, hands, or feet into blades if you aren’t careful. Wear appropriate attire like heavy-duty boots, eye and hearing protection, and gloves.
Safety Gear On Amazon | Editor Recommended
- Eye Protection: DEWALT Dominator SAFETY Glasses
- Hearing Protection: 3M Pro-Grade Noise-Reducing Earmuff
- Gloves: G & F Products 12 Pairs Large Rubber Latex Double Coated Work Gloves
Read the instructions and follow all safety precautions. Practice using the controls that turn the unit on and spin the tines, so you can stop them quickly if necessary.
Make sure all parts are clean and operate smoothly before starting your project. Be well-rested, and make sure you have sufficient upper-body strength to control the tiller.
Work when there is plenty of light to avoid disastrous mistakes like running the machine over a buried cable, water line, power line, or even worse a pet.
Clear the area of children, pets, and tall weeds before starting to rototill.
Never leave the machine running when not in use, even if you plan to “be right back.” The engine or motor could overheat, a child or pet could touch it, and you can save everyone’s ears from unnecessary noise.
How To Rototill A Garden
I love the convenience of using my rototiller for gardening. Here are some basic guidelines for proper garden rototiller use that should increase your crop yields while reducing your time and sweat equity.
Watch this short video for a great tutorial on operating a gas-engine rototiller.
When it’s time to plant, I run my rototiller lengthwise down my garden plot, going back and forth to a depth of about three or four inches.
The tiller tears up small weeds and old crop residue and works them back into the soil, which helps increase nutrient levels.
Once I make my first pass across the entire plot, I spread compost over the whole surface and begin a crisscross pattern to break up clumps further, incorporate the compost, and deepen the soil penetration to around six or eight inches.
After this final rototilling step, you can use a row maker, rake, or a hoe to create furrows and hills for planting.
TOMITA Japanese Triangle Hoe | Editor Recommended

Top Features
- Stainless Steel Blade
- Painted Wood Handle
- Lightweight
Once my garden plants are established, I break out the rototiller to clear any weed growth from between the rows when necessary.
I take care to keep the tines near the surface of the soil, only penetrating around a half-inch so I can skim off the weeds while keeping the ground firm for walking.
How To Rototill A Lawn
You may need to rototill a lawn to clear an area for other landscaping, expand your garden space, or to break up patchy areas so you can reseed or lay sod.
Begin by clearing the area of lawn you plan to rototill of any rocks, sticks, and leaves. Mow down tall grass and weeds.
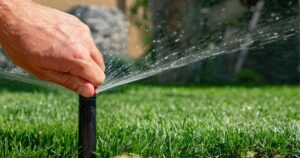
If the ground is too dry, soak the soil with a hose and give it a few hours to penetrate before you start to rototill.
If you can, adjust the depth bar on your rototiller to about four or five inches deep. This depth should cut through the grass and root system that needs removal.
Walk the rototiller in one direction slowly over the lawn area you wish to remove until you see and feel the blades cutting through the turf.
When you start a new row, overlap the cutting area of the blades a couple of inches, so you do not miss any grass.
Avoid running the rototiller close to shrubs or trees since you could damage their root systems and kill them off.
Once you rototill over the lawn area once, you can stop to rake out the loose grass and roots from the surface and begin your new landscaping project.
If you plan to plant new grass or lay sod, it’s better to incorporate the tilled grass back into the soil by making deeper passes until you see a nice mix of dirt and grass.
Dealing With Hard Soil
Hard, compacted soil is useless when you want a healthy lawn, attractive planters, or bountiful vegetable garden.
Trying to rototill hard soil can be frustrating and damage your machine. Thankfully, you can alleviate hard soil rototilling issues by following a few simple procedures.
Start by removing surface rocks in the area you wish to rototill. Rocks can bend or break rototiller tines and get in the way when trying to chop through hard soil.
Related | How To Remove Rocks From Yard
Hard soil is usually quite dry. Water the area thoroughly for a day, then let the water penetrate the ground for several days before rototilling.
Never try to rototill hard soil in one pass. You will stress the machinery and yourself!
Set the rototiller depth to a shallow two or three inches and make a pass over the ground. Move slowly and take breaks at short intervals to prevent over-working the rototiller motor and blades.
On the next pass, let the rototiller dig down another couple of inches. Continue this pattern until you reach the depth you want.
You can prevent future hard soil conditions by taking the time to regularly rototill in organic material like peat moss or compost each planting season.
In Summary
Using a rototiller makes quick work of burdensome garden and landscaping chores.
I hope following this rototilling guide shows you the best way to use one for your garden or lawn projects.
I find owning a rototiller invaluable for many tasks. Whether you choose to buy or rent one for your next project, the time and energy you save won’t disappoint!