If you’re interested in growing microgreens quickly and easily without having to worry about using messy soil, this simple hydroponic technique is perfect for you.
You can experiment with different substrates and light levels until you discover which works best for your favorite microgreens.

While microgreens grow well in a thin layer of potting soil, it’s also possible to forgo the soil completely and grow your microgreens completely mess-free.
No matter which substrate you choose to grow on, this method will allow you to harvest a delicious and nutritious crop of microgreens right at home in just a couple weeks without the need to lug around any soil.
If you haven’t tried growing hydroponically, it’s definitely the right time to try it!
What Is Hydroponics?
While the idea of hydroponic home growing can sound intimidating, conjuring up images of complex arrangements of piping or large, space-consuming flood tables, the truth is that hydroponic gardening is only as complicated as you choose to make it.
There are some very simple hydroponic techniques that are well-suited to growing short rotation crops such as microgreens.
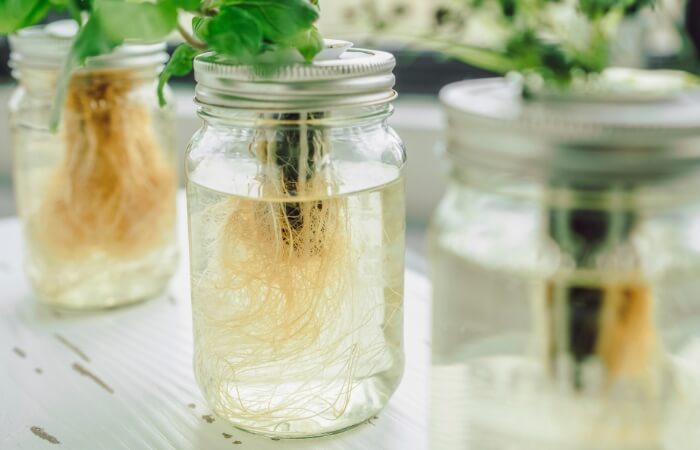
At its core, hydroponics is simply a way of growing plants without soil.
Instead of receiving the nutrients and oxygen they need from the soil, your microgreens will absorb everything they need directly from the water flowing around their roots.
One of the best hydroponic techniques for growing microgreens is to plant them directly onto a soil-less growing medium. Many of these substrates are available, such as coconut coir, hemp mats, rockwool, clay pebbles or vermiculite.
While it is possible to skip the growing medium entirely, such a hydroponic system is much more complex than is needed to grow microgreens, making it not very cost-effective for most home growers.
This guide will focus on growing micros using a substrate set up.
Why Grow Your Microgreens Hydroponically?
1. Most microgreens grow best in a hydroponic system
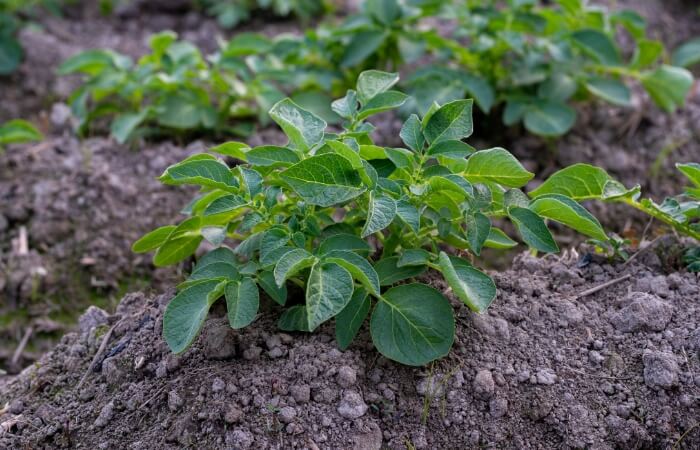
The majority of all the different types of microgreens grow best hydroponically. While there are a few exceptions, such as sunflowers, peas, and lentils, most vegetables and herbs grow faster and quicker to their microgreen size when grown without soil.
2. Less water usage
Since water can be reused in many hydroponic systems, you’ll often be using up to 10 times less water than when growing directly in the soil.
3. Better control
When growing hydroponically, you’re fully in charge of the amount of each nutrient you’re feeding your microgreens. You can easily adjust your fertilizer balance in order to maximize crop yield based on previous growing efforts.
4. Less messy
Since you don’t have to work with soil, there’s no need to worry about accidentally spilling soil in your house or making a big mess on your carpet. Likewise, there’s no need to figure out how to dispose of used soil after each batch.
5. More sterile
An added benefit of hydroponic growing is that since you’re not using microorganism-packed soil to grow your microgreens in, the already-minimal risk of potential bacterial contamination of your micros is reduced to virtually zero.
What You’ll Need
Growing Trays
Just like when growing with soil, you’ll need a growing tray for your substrate. The usual size used by microgreen growers is a 10” x 20” plastic tray. Make sure your tray has drainage holes. If not, you can make some holes yourself.
Growing Medium
Instead of soil, you’ll be using a hydroponic substrate for your microgreens to root on. Coconut coir and hemp mats are popular among microgreen growers, although some industrious home growers have even had success growing their micros right on paper towels!
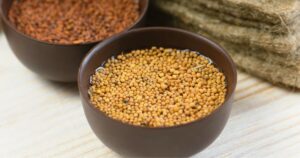
Microgreen Seeds
Whenever possible, purchase organic seeds bred specifically for microgreen cultivation. These will produce the densest microgreen yields. Whichever seeds you use, make sure they’re haven’t been treated with fungicides.
Lights
When growing indoors, T5 or T8 fluorescent lights are preferred. LEDs specially designed for indoor cultivation are also available, which will produce the levels of light that you need without hiking up your electric bill.
If you want, you could also place your growing trays outdoors to take advantage of the free sunlight.
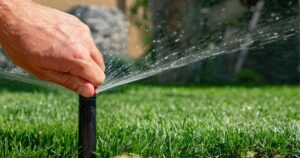
Water
If possible, use distilled or rainwater for watering your micros. If you need to use tap, boil it first or let it sit in an open container for 24 hours so it can off-gas any chlorine present.
Nutrient Solution
You’ll want to get a liquid nutrient solution to add to your water, preferably an organic one. There are some solutions available specifically designed for growing microgreens hydroponically. If you can’t find one, any hydroponic nutrient solution will do.
Alternatively, you can make your own compost tea and use this to fertilize your micros. Some growers don’t use nutrients at all. However, nutrients will greatly help to increase your overall crop yield.
pH Testing Kit
You’ll want to test the pH of your water-nutrient solution mix before watering your substrate. Hydroponically grown plants do best when the water has a slightly acidic pH of between 5.5 to 6.5.
If you need to change the pH of your water-nutrient solution, there are many pH up and pH down products available for hydroponic systems at your local gardening supply store.
Spray Bottle
Get a brand new spray bottle to reduce the risk of contamination.
How to Grow Microgreens Without Soil
1. Prepare Your Water
If you’re using nutrients, combine your water with your nutrient solution or prepare your compost tea. Check the pH of your water-nutrient solution and adjust as necessary to bring it to the desired range of 5.5 to 6.5.
Wood ash or lime can be used to raise the pH while phosphoric acid will lower it. Keep in mind that pH-altering additives may also change the nutrient balance of your water-nutrient solution as well, however.
2. Soak Your Substrate
Cut your grow mat to the size of your tray and soak in your water-nutrient solution. Transfer it to your tray and allow it to drain any extra moisture.
If using coconut coir, allow it to soak up the water-nutrient mix until it fully expands and then place into your tray.
3. Add Seeds
Evenly add your seeds to the surface of your substrate, following the density guidelines on the packaging of your individual seed.
Use the spray bottle to mist your seeds with pH adjusted water or more water-nutrient solution.
4. Cover Your Tray
Seeds will germinate best in darkness, so use an upside-down tray or another completely dark material to cover your seed tray. Depending on the seed, they should stay covered for 3 to 5 days.
5. Mist Regularly
Uncover your tray every 12 hours or so to mist your seeds. Otherwise, allow them to remain in complete darkness.
6. Place Under Lighting
Once the seeds have sprouted, at around day 5 or so, uncover and place the tray under your lights or outside in a sunny spot.
At this point, you can water by pouring some water directly into the tray. You can use pH adjusted water or a weak water-nutrient solution.
7. Harvest
After 10 to 15 days, depending on what your growing, your microgreens will be ready to harvest.
You’ll know they’re ready once they’ve developed their first set of “true leaves,” or the set after their cotyledon, or “baby leaves.”
Related | When To Harvest Microgreens
Use a clean, sharp blade or clean pair of scissors to cut the microgreens off at the base of their stem.
Wash them well, pat dry and store them between paper towels in a resealable bag or clamshell container.
Place them in the fridge until you’re ready to use them.
In Summary
Growing microgreens offers an easy and convenient way to provide nutrient-dense veggies for you and your family regardless of how much gardening space you have or how far away you live from your local farmer’s market.
With microgreens, you can produce batch after batch of healthy and delicious baby veggies in an enclosed space with minimal effort.