Do you love plants, but hate keeping up with the watering?
You’re not alone, but thankfully there’s a watering trick to enjoy plants without worrying they’ll die from lack of care.

The trick is using self-watering planters!
To understand everything about self-watering planters, including the steps to using them correctly, I put together this informative guide.
With a short read, you’ll be on your way to healthier flowers and plants without watering stress!
What Is A Self Watering Planter?
Self-watering planters, whether small or large, have a reservoir hidden inside the container bottom, that slowly disperses water to the soil as it dries.
DELF 6.7″

Unique Features
- Easy to Hang
- 6 Pack
Bloem Fiskars 20″

Unique Features
- UV-stabilized plastic
- Self-watering disk
The reservoir design uses depressions that sink into the water or a wick to draw water up into the soil. A plant gains moisture by growing roots down into the depression or by the capillary action of the wick.
Most planters have an opening near the base to fill the reservoir and see when it’s full. Other pots have a tube that rises from the tank and ends above the rim.
Excessive water automatically drains from the planter, leaving the ideal amount to keep the soil moist.
Most planters need refills between 5-14 days. How long the water lasts is affected by temperature, tank size, and type of plant.
Advantages of self-watering planters:
- Prevents overwatering, so roots won’t rot out
- Keeps water off plant foliage, which can lead to fungal growth
- Delivers water directly to the roots, for easier uptake
- Allows you to position plants away from a water source
- Allows direct fertilization to the root zone where it’s most effective
- Saves time and stress of checking soil moisture
- Can water plants during vacation, so your plants won’t suffer
Most self-watering containers have designs and colors to add flair to your plants and overall decor, whether indoors or out.
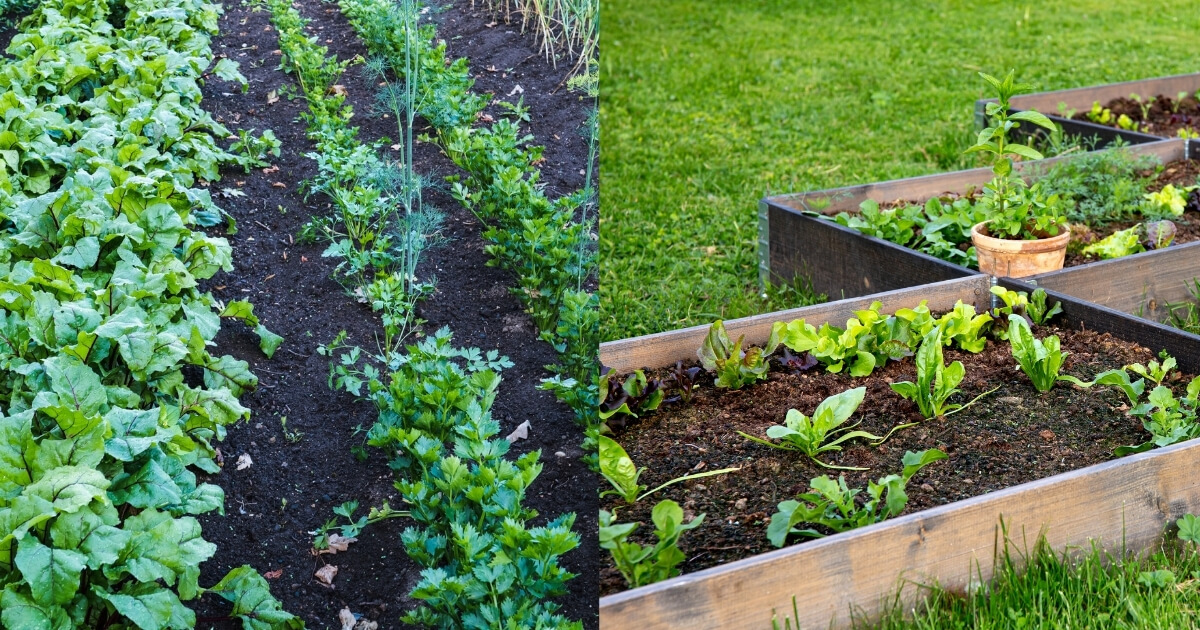
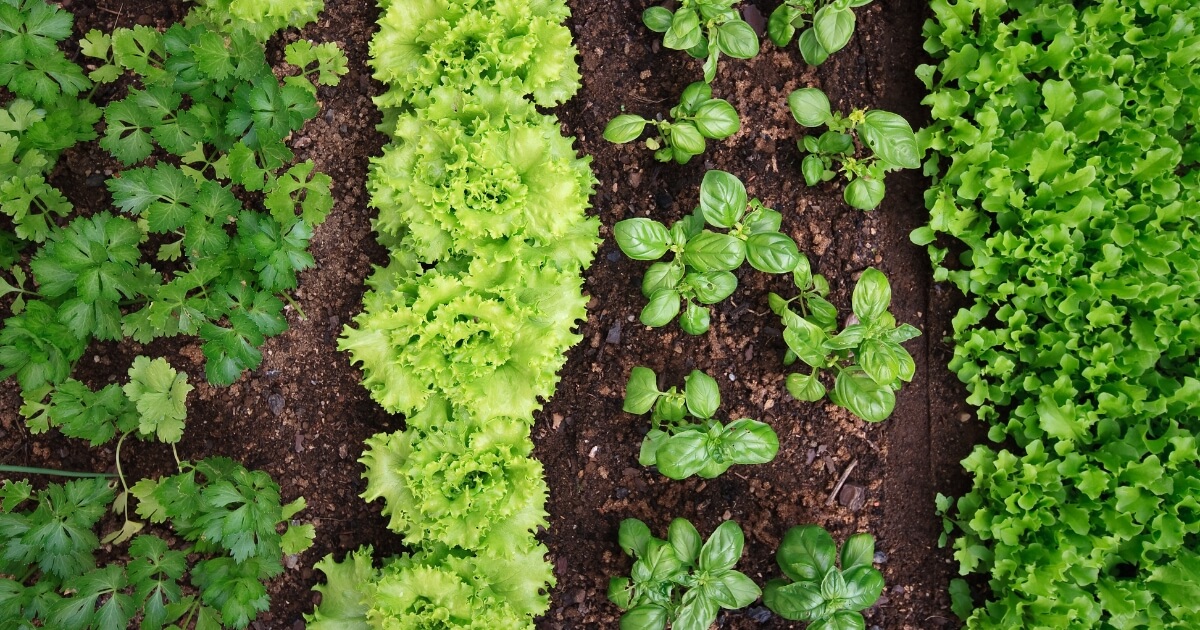
There are unique self-watering containers, often sold as “grow boxes” that are for container vegetable gardens that deliver the ideal amount of water to produce a bountiful harvest.
How To Use Self Watering Planters
To initially set up a self-watering pot, follow these steps:
Step 1 – Set Up The Planter
Many self-watering planters come fully assembled and ready to use straight from the store when shipped online. Others may need inserts and reservoir tanks put in, wicks set, or filler tubes connected.
Many filler tubes have a gauge that alerts you to the water level in the tank. Verify the indicator works correctly, so you don’t have to dump out your soil and plant to figure out what’s wrong.
If you purchase a retro-fit self-watering kit, assemble and install all components per the manufacturer’s instructions.
Step 2 – Add Soil To Planter
Fill your planter with a high-quality potting mix, making sure the soil is moist, but not soaking wet. Use a spray bottle with water to assist in getting the potting mix damp as you load the container.
Filling the pot with dry potting soil makes it very difficult to get the self-watering process working within the planter.
Make sure soil fills the depressions at the bottom of the pot or that the wick is set correctly in the reservoir per instructions.
Step 3 – Insert Plant
Choose a plant that fits well inside the planter. I do not suggest a super-small plant in a deep self-watering container, as it will take several weeks for the roots to be able to access the moisture deep within.
A plant where the root ball reaches 1/2 to 2/3 of the way down is ideal.
Set your plant of choice inside the self-watering planter and fill in with potting soil. If your pot has a central watering tube, make sure you cover the top, so the dirt doesn’t fall inside.
Press the soil down firmly, but don’t compact it, which can interfere with the capillary action.
Step 4 – Water
At this time, you’ll need to water the plant from the top. Doing so settles the soil within the container, and encourages the plant root’s system to stretch out.
Potting a plant that’s small in relation to the self-watering planter can result in the need for extended top watering. Until the roots can grow long enough to reach the moist soil near the bottom of the pot, the plant could suffer.
After your plant settles in, simply add water in the reservoir topped as necessary, and you should be good to go.
Step 5 – Top Off The Reservoir
After top watering, give the planter an hour or two to allow excess water to trickle through the soil. Any excess water will collect inside the reservoir and should not overflow unless you pour too much water into the container from the top.
Take a peek inside your tank if possible, or read any indicator gauge that came with your self-watering pot. If the level is not indicating full, take your watering can and fill the reservoir the rest of the way.
Step 6 – Maintain
After the initial water fill, maintain the planter by adding water every few days, until you can regulate the exact water usage of the plant.
The key to keeping the planter working is to never, ever let the reservoir and soil dry out, or the natural wicking process will cease.
If the reservoir and soil do accidentally dry out, you will need to slowly topwater until all the soil is moist again before filling the tank as usual.
TIP: Remember when it’s time to fertilize plants that delivering it to the reservoir is more effective as roots access the nutrients much quicker.
Problems With Self Watering Pots And Planters
A self-watering planter is not all sunshine and roses; they do have some issues you need to be aware of.
Dryness
As I mentioned above, you can’t allow the reservoir to dry out and leave your plants without the water they need to survive.
On your calendar, phone, or computer, set a reminder to top off your self watering planters every five to seven days to ensure a continual supply of water.
Plant Selection
Never use self-watering planters for plants that need the soil to dry out between waterings, such as:
- Orchids
- Succulents
- String of Pearls
- Ponytail Palm
- ZZ Plant
- Pregnant Onion
If you set these plants into a self-watering pot, they will get root rot which can lead to the death of the plant.
Only choose plants that thrive with a continuous level of moderate soil moisture.
Location
If your climate is extremely humid or rainy, using self-watering planters outdoors exposed to the elements can drown the plant inside.
The soil will continuously have a ready source of water outside of the reservoir and soak up too much for the plant to use, leading to fungus or root rot.
While the pot should drain off excess water under normal weather conditions, extreme wet conditions won’t allow the soil the chance to dry out.
Move the plant undercover first to see if this eliminates the problem. If not, move the plant indoors.
In Summary
Even for those who adore gardening and decorating with potted plants, watering chores can often be troublesome. Worse yet, taking time away from home leaves your plants thirsty and in precarious health.
I hope this self-watering planters guide highlights the benefits they can bring to your home and garden.
When you purchase and use self-watering pots correctly, you can stop obsessing about watering your plants and instead watch them grow with vigor!